The sun finally decided to pay The City a visit today. One of those rare occasions where it'll peek through those billowy clouds and bequeath unto the cityscape that blissfully warm sunlight. Unfortunately, the sun doesn't like to linger too long around here, always worrying that it's overstaying its welcome. By the time the afternoon came around, the sky returned to its monotonous gray as the cold slipped through once more, sending shivers down spines and jackets on children.
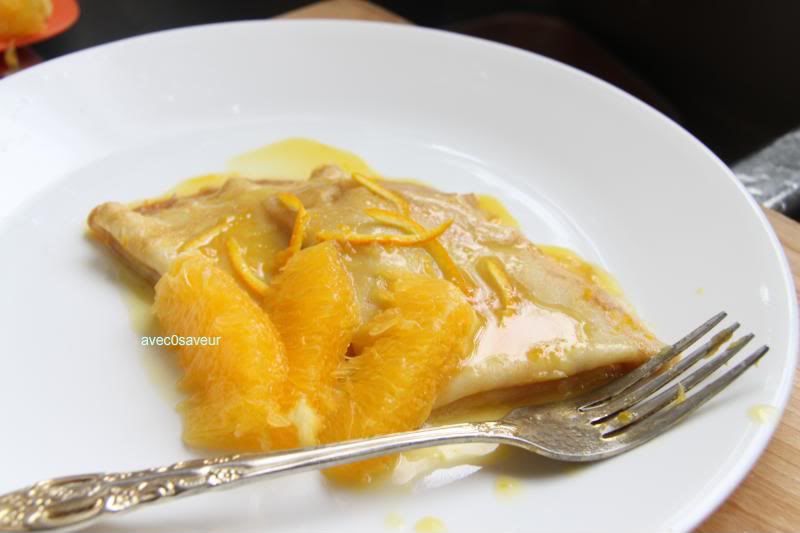
And so, in a mad attempt to retain that evanescent warmth of the sun~ I've decided to make crepes suzette. There's nothing like that taste of orange to remind me of those long summery days drenched in heat, under that endless blue sky. Along with the fact that there's a whole crate of oranges that needs to be used up. >_>;;
Crepes Suzette
(adapted from Desserts: 365 Delicious Step-by-Step Recipes by Martha Day)
1 recipe prepared French crepes (adding 1tbls orange zest and 1tbls Gran Marnier[optional])
6tbls unsalted butter
1/4 cup granulated sugar
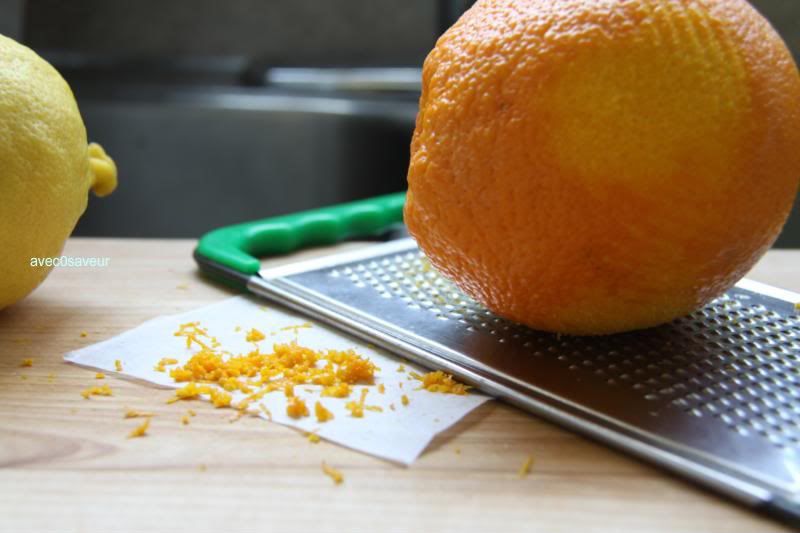
grated rind and juice of 1 large orange and lemon
2/3 cup fresh orange juice
2tbls Gran Marnier (orange liqueur||optional)
1/4 cup cognac and/or brandy (optional)
orange segments to decorate*
Utensils:
measuring spoons/cups
fork
large frying pan
matches (preferably ones with a long handle)
pairing knife
~Melt the butter in the frying pan over medium-low heat, then stir in the sugar, the rinds and juices along with the Gran Marnier, if using. Bring the mixture to a boil until thickened (about 3-4 minutes). Place a crepe in the pan, swirling gently to coat with the sauce. With the fork, fold it in half, then in half again, forming a triangle and push to the side of the pan. Continue heating and folding the crepes until all are warm and covered with the sauce.
Optional part: Pour the cognac and/or brandy over the crepes, light a match and carefully hover the flame over the pan until the liquor is ignited. Put out the match and toss in the sink (not in the trash bin!!). Allow the flames to burn off. Serve immediately.
*To "supreme" or cut the orange into segments. With a pairing knife, cut off the ends and prop it flat-side down, cutting away the remaining skin on the sides. Then carefully cut the flesh out from between the white membranes and you have just "supremed" an orange. =)
Friday, 23 July 2010
Wednesday, 21 July 2010
herb roasted chicken.
The herbs in the garden are thriving... for once. Everything I plant seems to wither on me a week into its life in my little abode.
Oh, the soft warm summer breeze, carrying with the the sweet scent of tarragon and thyme and perhaps rosemary. I wish. It's mainly foggy and cold here in The City. Though, on occasion we are blessed with sunshine and a taste of summer heat, which is best spent lounging under a tree with a good book or at the beach with someone.
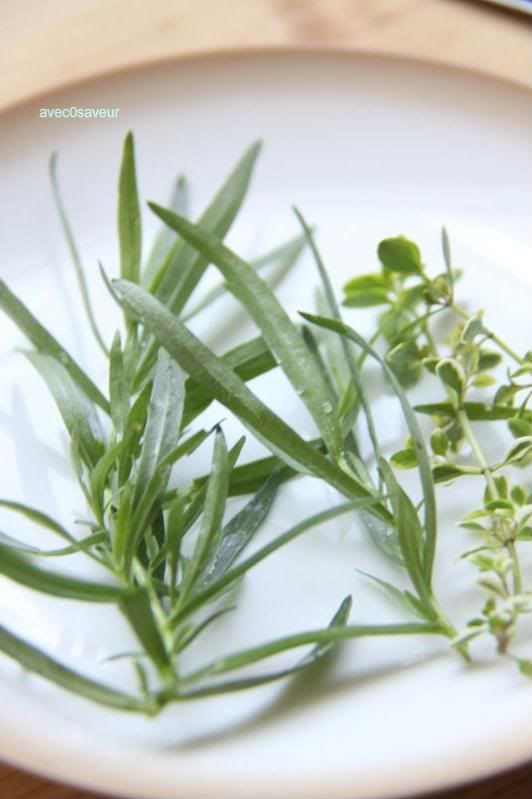
This recipe is quite versatile. You can substitute the herbs here for any of your favorite. I've chosen tarragon and lemon thyme.
Herb Roasted Chicken
We'll need:
1x 3lb 8oz whole chicken (preferably free-range and hormone free)
1/2tsp salt
2tbls unsalted butter (softened)
3 sprigs of tarragon
3 sprigs of lemon thyme
2 cups chicken stock
Utensils:
paper towels
measuring spoons/cups
roasting pan
foil
saucepan
>>preheat oven to 400F<<
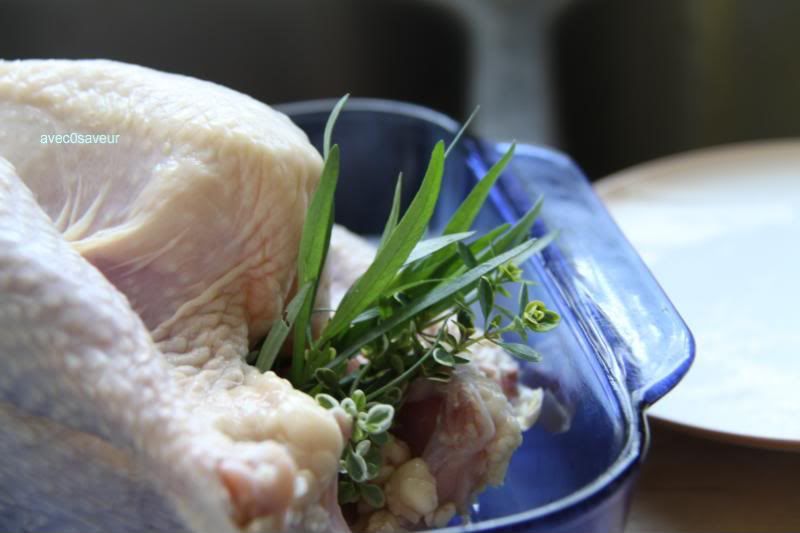
~Rinse the chicken in running water, thoroughly cleaning the cavity, washing out all the blood and impurities. Then, dry with the paper towels and place in the roasting pan, breast side up. Sprinkle the outside of the chicken with salt and rub the butter evenly underneath the skin, concentrating on the breasts so to prevent them from drying up in the cooking process. Next, stuff the herbs into the cavity of the chicken.
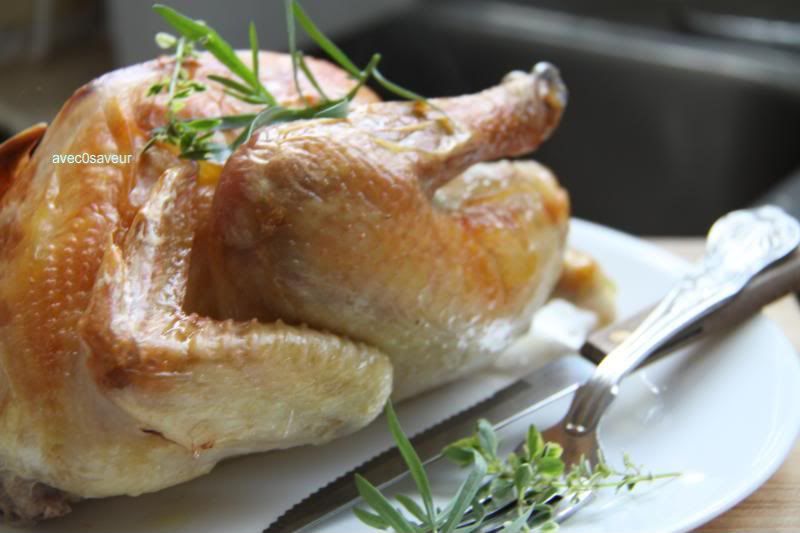
~Pour the chicken stock into the roasting pan and cover with foil. Place into the preheated oven and bake for about 1hr 20mins or until the juices run clean when pierced with a knife. Remove the foil in the remaining 30mins to brown. If it still isn't brown enough, you can use the broiler (but I don't suggest putting it under for more than 15mins, as that will result in a very dry chicken). Once the chicken is out of the oven remove it from the pan and place on a plate or cutting board to let cool. Drain the juices into the saucepan and place on a burner set to medium. Reduce the sauce until half (about 5~10mins). You can also add a spot of butter to "finish" the sauce.
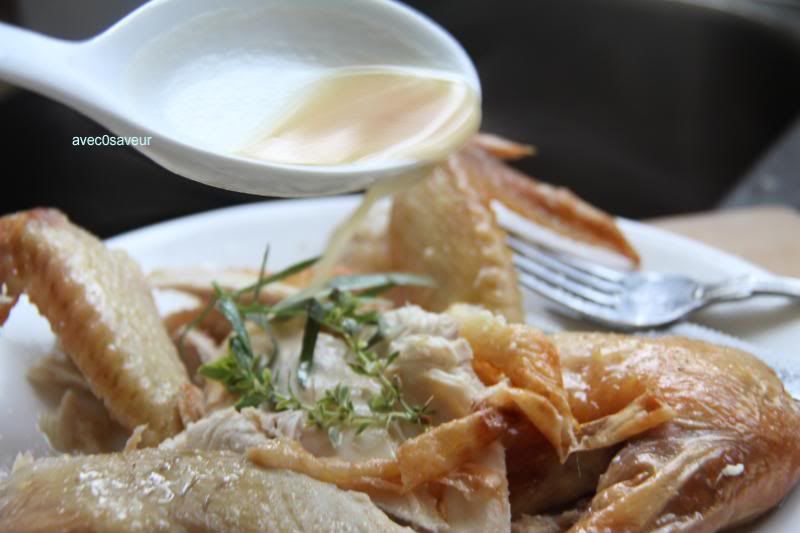
~Carve the chicken and pour the sauce over it~ serve!
Oh, the soft warm summer breeze, carrying with the the sweet scent of tarragon and thyme and perhaps rosemary. I wish. It's mainly foggy and cold here in The City. Though, on occasion we are blessed with sunshine and a taste of summer heat, which is best spent lounging under a tree with a good book or at the beach with someone.
This recipe is quite versatile. You can substitute the herbs here for any of your favorite. I've chosen tarragon and lemon thyme.
Herb Roasted Chicken
We'll need:
1x 3lb 8oz whole chicken (preferably free-range and hormone free)
1/2tsp salt
2tbls unsalted butter (softened)
3 sprigs of tarragon
3 sprigs of lemon thyme
2 cups chicken stock
Utensils:
paper towels
measuring spoons/cups
roasting pan
foil
saucepan
>>preheat oven to 400F<<
~Rinse the chicken in running water, thoroughly cleaning the cavity, washing out all the blood and impurities. Then, dry with the paper towels and place in the roasting pan, breast side up. Sprinkle the outside of the chicken with salt and rub the butter evenly underneath the skin, concentrating on the breasts so to prevent them from drying up in the cooking process. Next, stuff the herbs into the cavity of the chicken.
~Pour the chicken stock into the roasting pan and cover with foil. Place into the preheated oven and bake for about 1hr 20mins or until the juices run clean when pierced with a knife. Remove the foil in the remaining 30mins to brown. If it still isn't brown enough, you can use the broiler (but I don't suggest putting it under for more than 15mins, as that will result in a very dry chicken). Once the chicken is out of the oven remove it from the pan and place on a plate or cutting board to let cool. Drain the juices into the saucepan and place on a burner set to medium. Reduce the sauce until half (about 5~10mins). You can also add a spot of butter to "finish" the sauce.
~Carve the chicken and pour the sauce over it~ serve!
Sunday, 18 July 2010
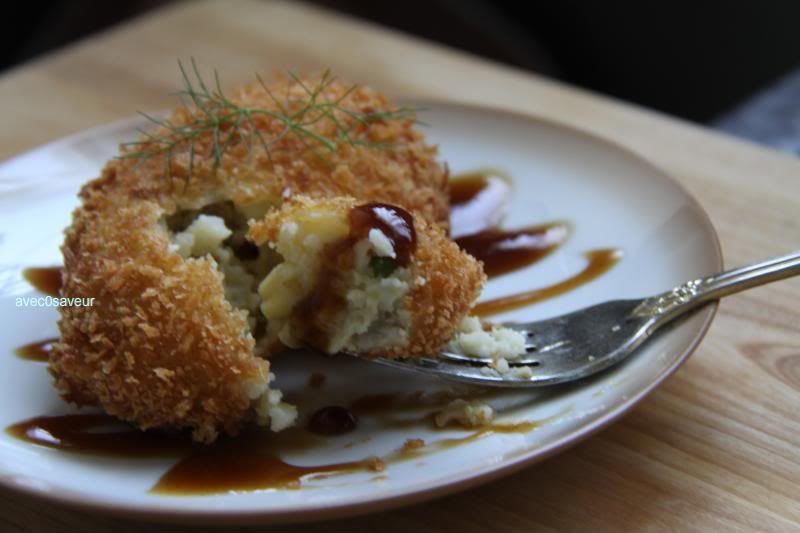
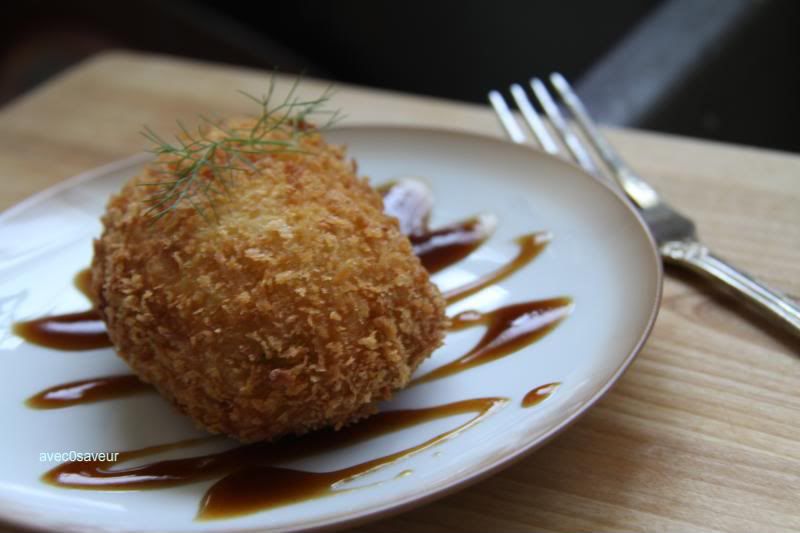
Curry Croquettes (カレークロケット)
Comm is finally over! I can finally direct my attention and effort toward this blog (along with my art site)~ So expect more frequent updates from now.
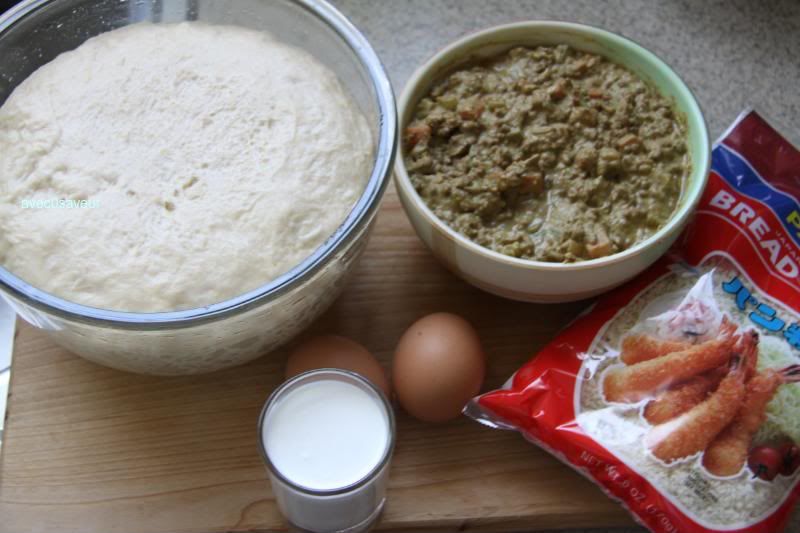
Anyway, I digress~ onward to the curry croquettes! So, as I've said, if you've a bit of leftover filling, egg wash, and panko from the curry bread recipe, you can totally make use of them in this recipe. =)
Curry Croquettes (カレークロケット)
We'll need:
4~5 medium-sized russet potatoes (peeled, boiled and cooled)
left-over curry filling from the curry bread (or just halve the recipe)
1.5 cups vegetable of choice (blanched and diced) or frozen vegetable medley
-egg wash-
1/4 c. milk
2 eggs
left-over panko (or 1.5 cups)
Oil for frying
ketchup, tonkatsu or okonomiyaki sauce for serving (optional)
Utensils:
large mixing bowl
spatula
measuring cups
fork
two shallow dishes
baking sheet lined with parchment
heavy pot
candy thermometer
frying spider
cooling rack or a a few dishes lined with paper towels
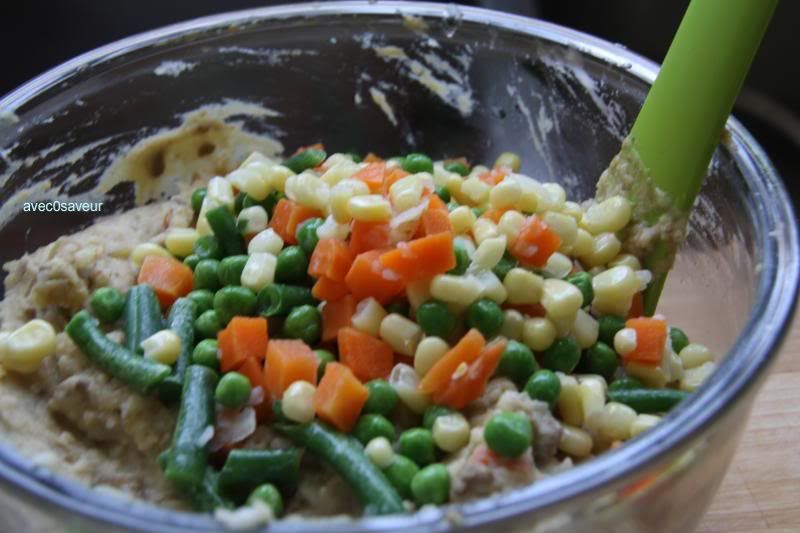
~In the mixing bowl, mash the potatoes with the fork until there are no visible lumps of potato. Then add the curry filling into the bowl, mix with spatula until evenly incorporated. Next, add the vegetables and mix well. With wet hands, carefully shape the potato mixture into balls (as large or as small as you like) and place onto the parchment-lined baking sheet. Freeze until firm (about 20-30mins).
~In one of the shallow dishes prepare the egg wash by whisking together the eggs and milk. Place the panko in the other. Remove the potato balls from the freezer and quickly dredge in the wash and then in the panko crumbs, return each prepared croquette back onto the baking sheet. Fill the heavy pot halfway with oil and heat on med-high, until it reaches 350F (about 8-10mins). Fry the croquettes, two or three at a time, until golden (about 10-15mins). Remove with the spider and place on a cooling rack or paper towel-lined plates to drain.
Serve with tonkatsu or okonomiyaki sauce, or if those aren't available, you can use ketchup or even steak sauce.
Anyway, I digress~ onward to the curry croquettes! So, as I've said, if you've a bit of leftover filling, egg wash, and panko from the curry bread recipe, you can totally make use of them in this recipe. =)
Curry Croquettes (カレークロケット)
We'll need:
4~5 medium-sized russet potatoes (peeled, boiled and cooled)
left-over curry filling from the curry bread (or just halve the recipe)
1.5 cups vegetable of choice (blanched and diced) or frozen vegetable medley
-egg wash-
1/4 c. milk
2 eggs
left-over panko (or 1.5 cups)
Oil for frying
ketchup, tonkatsu or okonomiyaki sauce for serving (optional)
Utensils:
large mixing bowl
spatula
measuring cups
fork
two shallow dishes
baking sheet lined with parchment
heavy pot
candy thermometer
frying spider
cooling rack or a a few dishes lined with paper towels
~In the mixing bowl, mash the potatoes with the fork until there are no visible lumps of potato. Then add the curry filling into the bowl, mix with spatula until evenly incorporated. Next, add the vegetables and mix well. With wet hands, carefully shape the potato mixture into balls (as large or as small as you like) and place onto the parchment-lined baking sheet. Freeze until firm (about 20-30mins).
~In one of the shallow dishes prepare the egg wash by whisking together the eggs and milk. Place the panko in the other. Remove the potato balls from the freezer and quickly dredge in the wash and then in the panko crumbs, return each prepared croquette back onto the baking sheet. Fill the heavy pot halfway with oil and heat on med-high, until it reaches 350F (about 8-10mins). Fry the croquettes, two or three at a time, until golden (about 10-15mins). Remove with the spider and place on a cooling rack or paper towel-lined plates to drain.
Serve with tonkatsu or okonomiyaki sauce, or if those aren't available, you can use ketchup or even steak sauce.
Saturday, 10 July 2010
Curry Bread(カレーパン) pt. 3: Pulling it all together!
大変 申し訳ありません、皆様~ お待たせいたしました!My apologies for the wait~ Here's the final installment of the three-part curry bread recipe. It was tough, all that curry-making and dough kneading, but we survived. Phew. Now let's start putting the two together and fry up some curry bread!
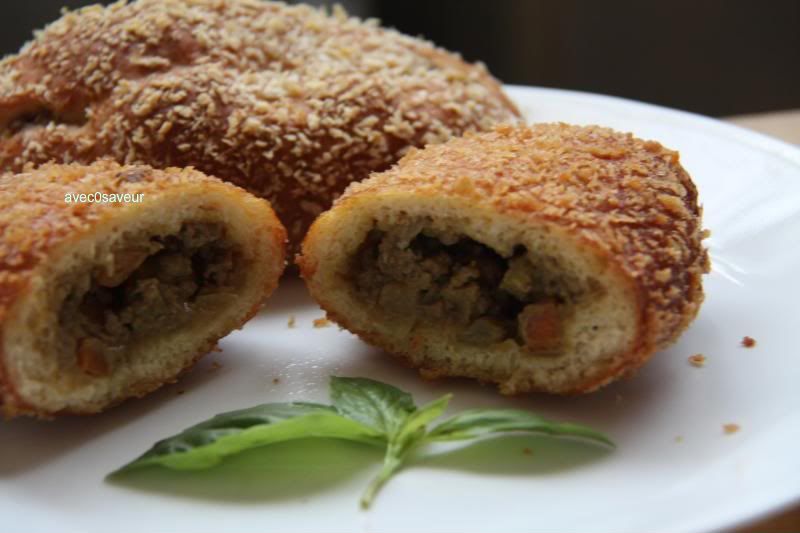
Crisp exterior, giving in to cotton soft bread as the burst of curry sets the palate ablaze in a symphony of textures and flavors... it... it's almost too much to handle in one bite. *_*

We'll need:
1 recipe beignet dough
1 recipe curry filling
2 cups panko (Japanese bread crumbs)
Egg Wash: 2 eggs + 1/4cup milk
Oil for frying
Utensils:
rolling pin
knife (or pizza cutter)
2 shallow dishes
baking sheet/parchment paper
frying spider
heavy pot
paper towel-lined plates or cooling rack
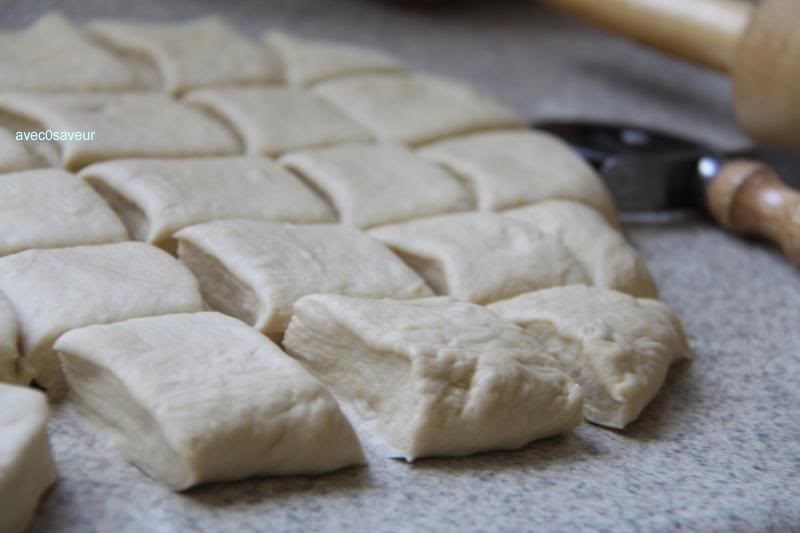
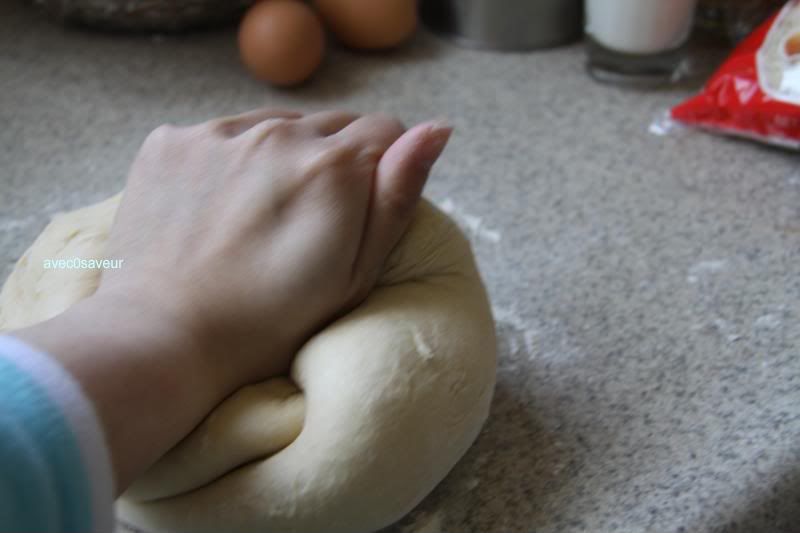
~Remove the dough from the fridge and let sit on the counter until it reaches room temperature. Place it on a lightly floured surface and give it 4~5 kneads. Then roll the dough out into a rectangle about 0.5in thick. With the knife or pizza cutter, cut into 1.5x1.5in pieces. Next, roll out the cut pieces into a circle, until it's about 0.25in thick. Prepare the egg wash by whisking together the eggs and the milk in a shallow dish. Pour out the panko on another dish and set the two aside.
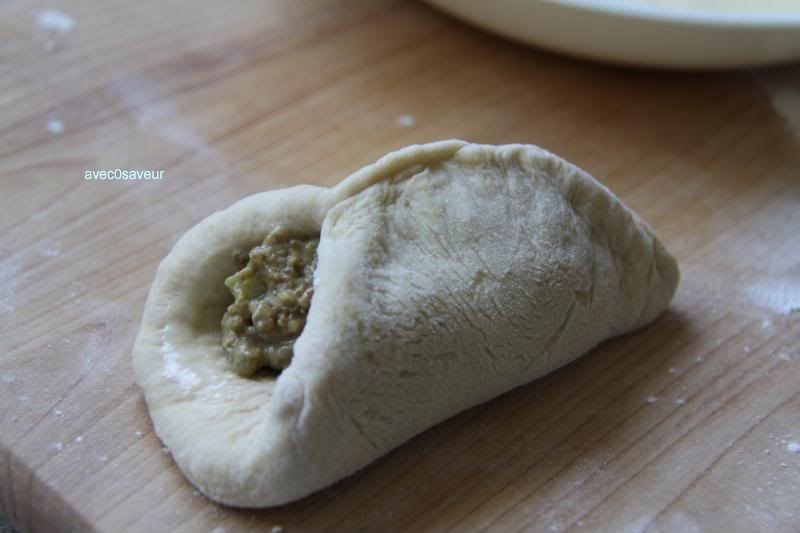
~Place 2~3tbls of the curry filling into the dough and pinch the sides together. Next, dip the filled dough into the egg wash and then cover evenly with the panko. Place it on the parchment or baking sheet and repeat until the dough is used up. Let the curry bread rise on the parchment/baking sheet for 30mins. Fill the heavy pot half-way full with oil and place over medium-high heat, until it reaches 350F. Then, place the dough in and fry until golden (about 10-15mins), turning it halfway through the cooking process. Remove from the oil with the spider and let drain on the paper-towel lined plates or on a cooling rack.
*Note: The curry bread can be baked instead of fried. Just omit the panko and brush with egg wash. Place in a pre-heated 350F oven and bake until golden (about 25-30mins).
**Worry not if you've some left-over filling~ I'll have a recipe up for curry croquettes next.
Crisp exterior, giving in to cotton soft bread as the burst of curry sets the palate ablaze in a symphony of textures and flavors... it... it's almost too much to handle in one bite. *_*

We'll need:
1 recipe beignet dough
1 recipe curry filling
2 cups panko (Japanese bread crumbs)
Egg Wash: 2 eggs + 1/4cup milk
Oil for frying
Utensils:
rolling pin
knife (or pizza cutter)
2 shallow dishes
baking sheet/parchment paper
frying spider
heavy pot
paper towel-lined plates or cooling rack
~Remove the dough from the fridge and let sit on the counter until it reaches room temperature. Place it on a lightly floured surface and give it 4~5 kneads. Then roll the dough out into a rectangle about 0.5in thick. With the knife or pizza cutter, cut into 1.5x1.5in pieces. Next, roll out the cut pieces into a circle, until it's about 0.25in thick. Prepare the egg wash by whisking together the eggs and the milk in a shallow dish. Pour out the panko on another dish and set the two aside.
~Place 2~3tbls of the curry filling into the dough and pinch the sides together. Next, dip the filled dough into the egg wash and then cover evenly with the panko. Place it on the parchment or baking sheet and repeat until the dough is used up. Let the curry bread rise on the parchment/baking sheet for 30mins. Fill the heavy pot half-way full with oil and place over medium-high heat, until it reaches 350F. Then, place the dough in and fry until golden (about 10-15mins), turning it halfway through the cooking process. Remove from the oil with the spider and let drain on the paper-towel lined plates or on a cooling rack.
*Note: The curry bread can be baked instead of fried. Just omit the panko and brush with egg wash. Place in a pre-heated 350F oven and bake until golden (about 25-30mins).
**Worry not if you've some left-over filling~ I'll have a recipe up for curry croquettes next.
Tuesday, 29 June 2010
curry bread (カレーパン) pt.2: dough
Here's the second part to this three part recipe: the dough. You can totally use this recipe as is to make beignets, just increase the sugar to 1/2c, cut into pieces, fry until golden, and dust with powdered sugar. You can also fill the fritters with jam, peanut butter.. etc. But in this case, we'll be using this to make the "bread" part of the curry buns.
Beignet Dough for Curry Bread
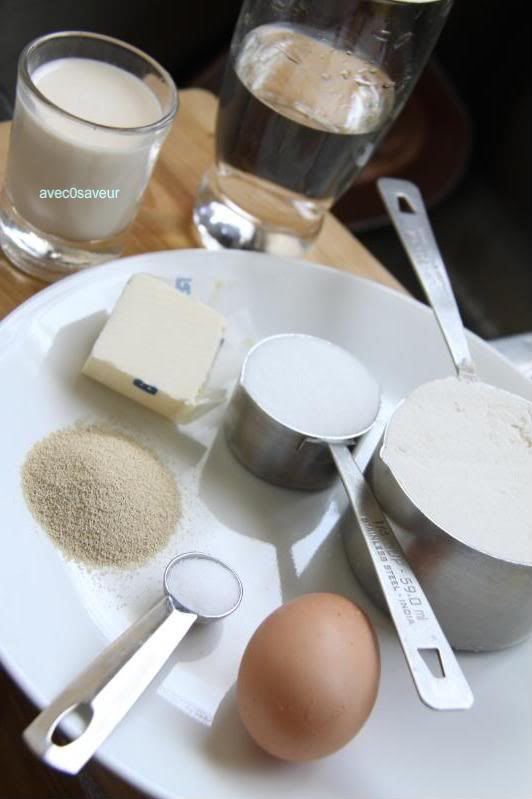
We'll need:
1 envelope dried yeast (2tbls)
3/4 cup tepid water (110F)
1/4 cup sugar
1/2 tsp salt
1 beaten egg
1/2 cup evaporated milk
3 1/2-3 3/4 cup all-purpose flour
2tbls softened butter or shortening
Utensils:
large mixing bowl
measuring spoons/cups
hands
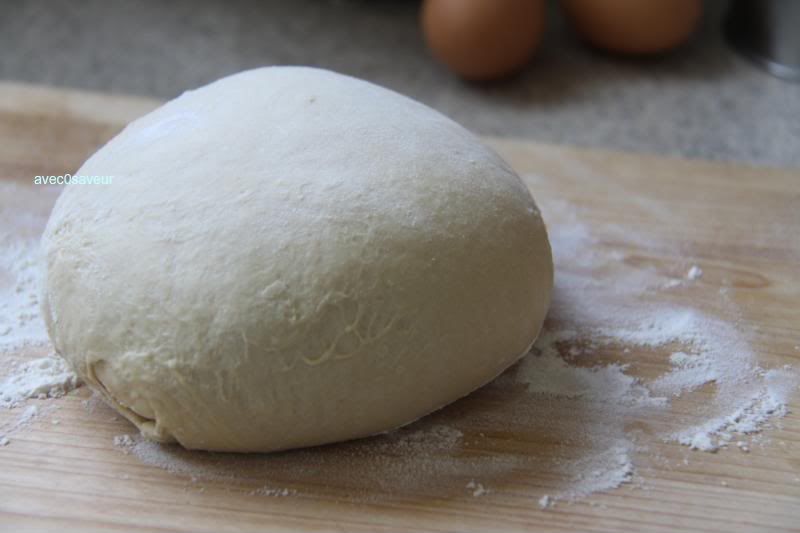
~Combine yeast, water, and sugar in the bowl. Let stand for 5mins. Then, add the salt, beaten egg, and evaporated milk to the yeast mixture and combine well. Add half of the flour(about 1 1/2c.) until it begins to come together, forming a very loose dough. Next, add the softened butter or shortening. When incorporated, add the remaining flour (about 1 1/4c) in small amounts. Place the dough on a floured surface and knead until it becomes smooth and is without lumps (about 5-15mins).
~When the dough is ready, place it back in the bowl and let rise overnight in the refrigerator.
Next Post: Making the Curry Bread (finally).
Beignet Dough for Curry Bread
We'll need:
1 envelope dried yeast (2tbls)
3/4 cup tepid water (110F)
1/4 cup sugar
1/2 tsp salt
1 beaten egg
1/2 cup evaporated milk
3 1/2-3 3/4 cup all-purpose flour
2tbls softened butter or shortening
Utensils:
large mixing bowl
measuring spoons/cups
hands
~Combine yeast, water, and sugar in the bowl. Let stand for 5mins. Then, add the salt, beaten egg, and evaporated milk to the yeast mixture and combine well. Add half of the flour(about 1 1/2c.) until it begins to come together, forming a very loose dough. Next, add the softened butter or shortening. When incorporated, add the remaining flour (about 1 1/4c) in small amounts. Place the dough on a floured surface and knead until it becomes smooth and is without lumps (about 5-15mins).
~When the dough is ready, place it back in the bowl and let rise overnight in the refrigerator.
Next Post: Making the Curry Bread (finally).
Thursday, 24 June 2010
curry bread [カレーパン] Pt. 1: curry filling
I know, I know... I've been AWOL for the past few weeks. I'm so sorry! >_<;; This speech class I'm taking has been taking it's toll on me. It's really pushing me out of my comfort zone. But then again... it's only through that discomfort that we grow and become mentally stronger. So I suppose I'll have to bite the bullet and just get it over with. Just five more classes~
On the topic of going out of comfort zones... let's talk about frying and bread making. I'm just terrified of both, but then, out of the blue, bocchan requests that I make curry bread. Bread... filled bread... frying... hot oil... burns... that was pretty much all that ran through my coffee-powered mind at the moment. In the end, I accepted the request with much apprehension and it turned out quite successfully or deliciously, I should say.
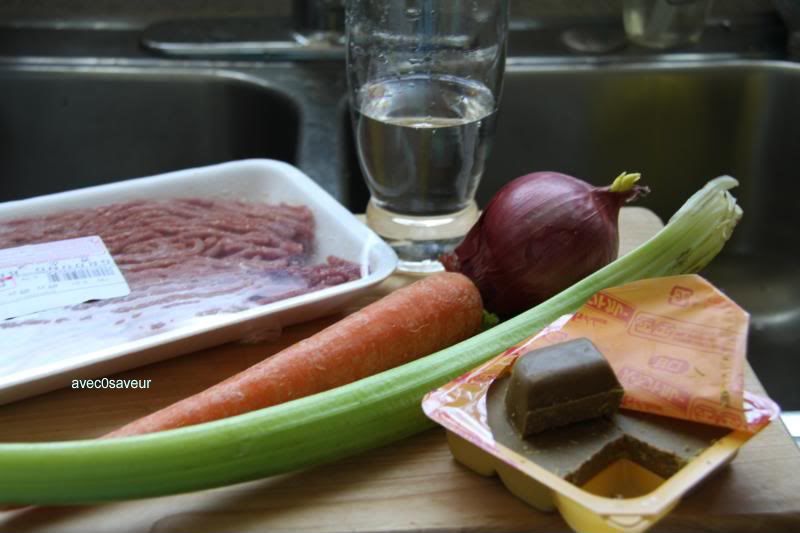
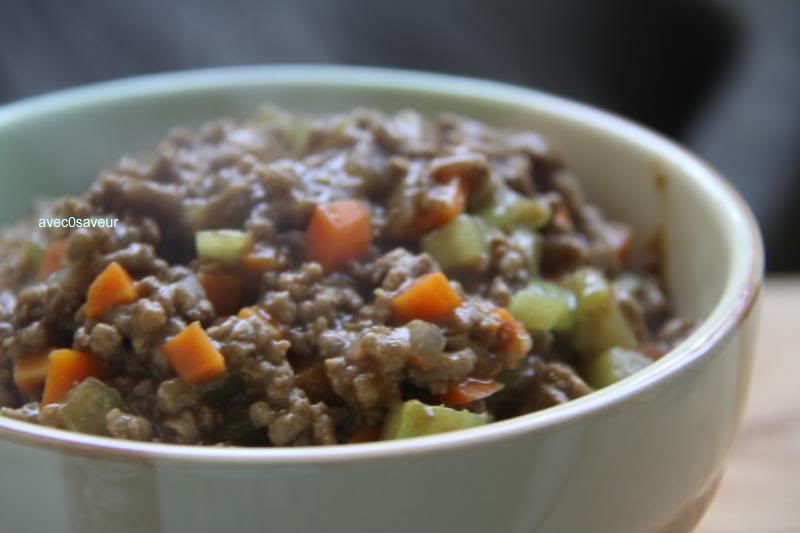
Though I had to seriously think out a proper strategy at tackling this bread. I decided on using a yeast-based beignet dough as the bread as it's more suited for frying. As for the curry filling, rather than bringing out a plethora of spices and mixing my own curry, I just turned toward the ready-made Japanese curry concentrate cubes (they come in boxes and may be found in most Asian supermarkets) and threw in ground beef and mirepiox (celery, carrots, and onion).
It turns out that the hardest part wasn't making the curry bread, but organizing and typing out the recipe as it is quite long. So to save your eyes, I'll be separating it into three parts: the curry filling (recipe below), beignet dough, and how to pull everything together.
Filling for Curry Bread
We'll need:
2tbls oil
1 medium carrot
1 small onion (or 1/2 med onion)
1 celery stalk
3/4lb ground beef (preferably lean)
4 cubes curry concentrate (I like to use the "Vermont Apple" flavored type)
1 cup water
1/2 cup coconut milk (or soy milk/milk)
Utensils:
cutting board
kitchen knife
measuring spoons/cups
frying pan
spatula
medium-sized bowl
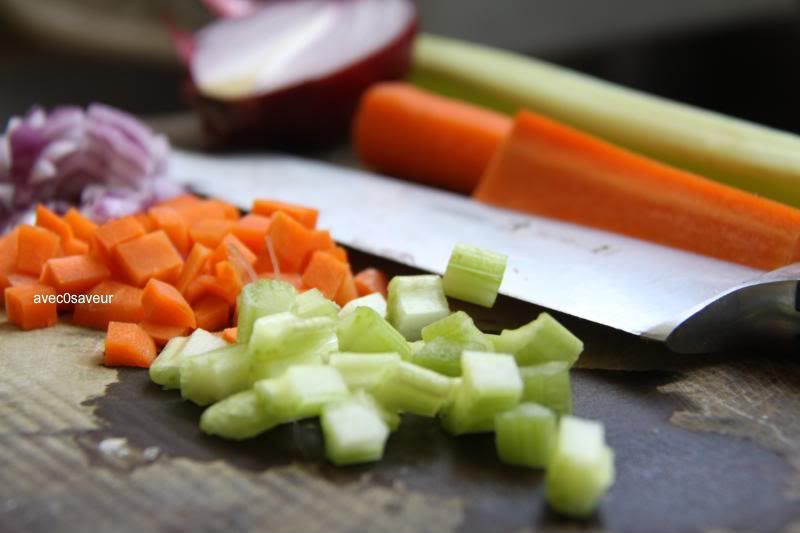
~Place oil in the frying pan and heat over medium. Peel the carrot and onion and remove the tough "veins" from the celery. Then cut the vegetables into small cubes and place into the pan. Sautee for about 2-3mins with 1tsp of water. When soft, add the ground beef and continue cooking for about 3-5mins.
~Next, add the remaining water to the meat/vegetable mixture, allowing it to come to a soft simmer. Then, add in the curry cubes and stir until dissolved. Add the coconut milk and continue simmering until the liquid has reduced by about half, about 3-5mins. Pour the mixture into a bowl and refrigerate overnight to allow it to firm up.
Next Post: Beignet Dough
On the topic of going out of comfort zones... let's talk about frying and bread making. I'm just terrified of both, but then, out of the blue, bocchan requests that I make curry bread. Bread... filled bread... frying... hot oil... burns... that was pretty much all that ran through my coffee-powered mind at the moment. In the end, I accepted the request with much apprehension and it turned out quite successfully or deliciously, I should say.
Though I had to seriously think out a proper strategy at tackling this bread. I decided on using a yeast-based beignet dough as the bread as it's more suited for frying. As for the curry filling, rather than bringing out a plethora of spices and mixing my own curry, I just turned toward the ready-made Japanese curry concentrate cubes (they come in boxes and may be found in most Asian supermarkets) and threw in ground beef and mirepiox (celery, carrots, and onion).
It turns out that the hardest part wasn't making the curry bread, but organizing and typing out the recipe as it is quite long. So to save your eyes, I'll be separating it into three parts: the curry filling (recipe below), beignet dough, and how to pull everything together.
Filling for Curry Bread
We'll need:
2tbls oil
1 medium carrot
1 small onion (or 1/2 med onion)
1 celery stalk
3/4lb ground beef (preferably lean)
4 cubes curry concentrate (I like to use the "Vermont Apple" flavored type)
1 cup water
1/2 cup coconut milk (or soy milk/milk)
Utensils:
cutting board
kitchen knife
measuring spoons/cups
frying pan
spatula
medium-sized bowl
~Place oil in the frying pan and heat over medium. Peel the carrot and onion and remove the tough "veins" from the celery. Then cut the vegetables into small cubes and place into the pan. Sautee for about 2-3mins with 1tsp of water. When soft, add the ground beef and continue cooking for about 3-5mins.
~Next, add the remaining water to the meat/vegetable mixture, allowing it to come to a soft simmer. Then, add in the curry cubes and stir until dissolved. Add the coconut milk and continue simmering until the liquid has reduced by about half, about 3-5mins. Pour the mixture into a bowl and refrigerate overnight to allow it to firm up.
Next Post: Beignet Dough
Wednesday, 2 June 2010
sweet 'n savory beef "stew"
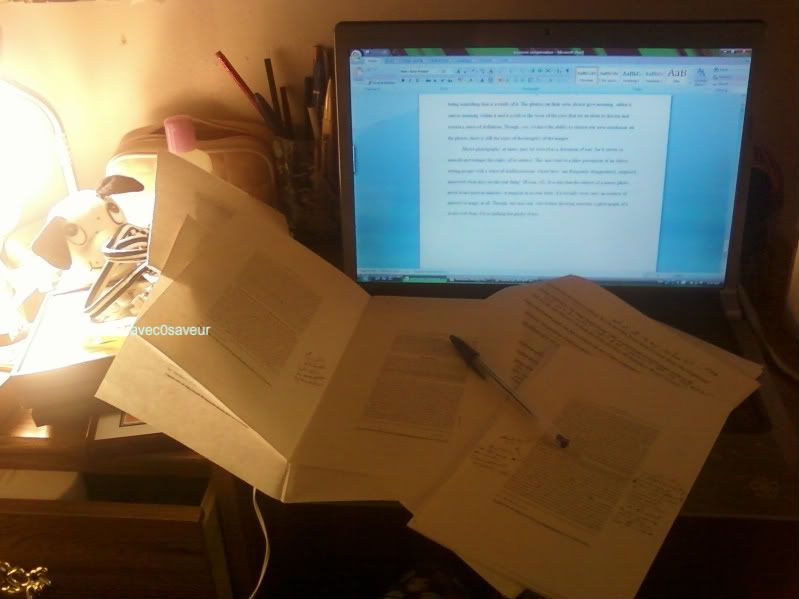
I'm finished! Oorah! After two sleepless nights, yelling at myself and randomly translating j-rock Christmas songs in my head... I'm finally done with my final paper for composition. Though, for the first time it feels rather unfinished, even after seven pages. Weeird. Maybe I should've written more. Naah.

I've learned to spite the laptop after those two days... along with the color green. Aah...I should seriously stop procrastinating on replacing my graphics card. That green is really getting to me. -shivers-
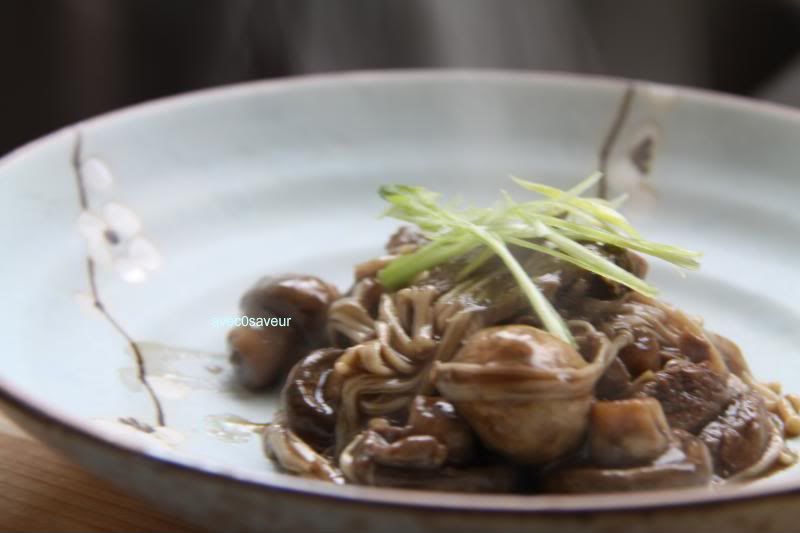
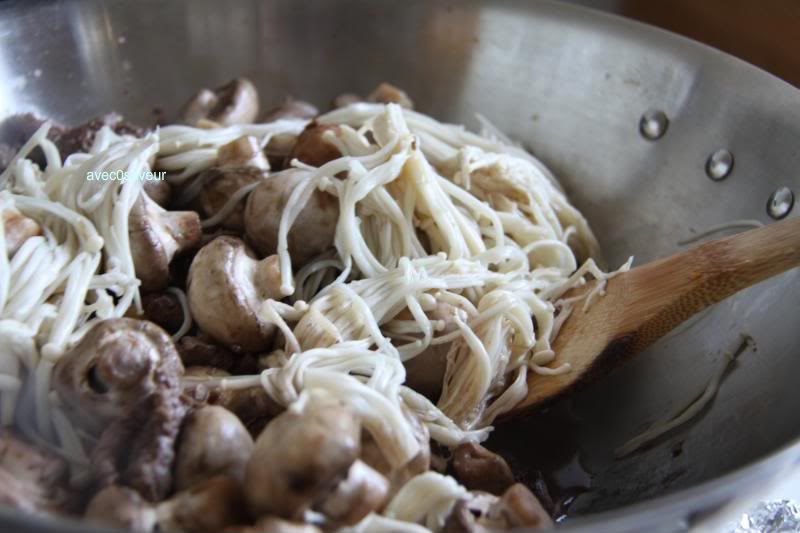
But anywaay, back to the stew. Well, truthfully it's not quite a stew, rather it's more of a simmered dish... with beef and mushrooms. I tend to just throw ingredients together and just let them simmer when I'm super exhausted. But it, hey, works... most of the time! ^_^;

You can use any type of mushroom for this dish, though I wouldn't use dried ones since by the time they're done, the meat will become tough as they take a bit of time to cook.
Sweet 'n Savory Beef "Stew"
We'll need:
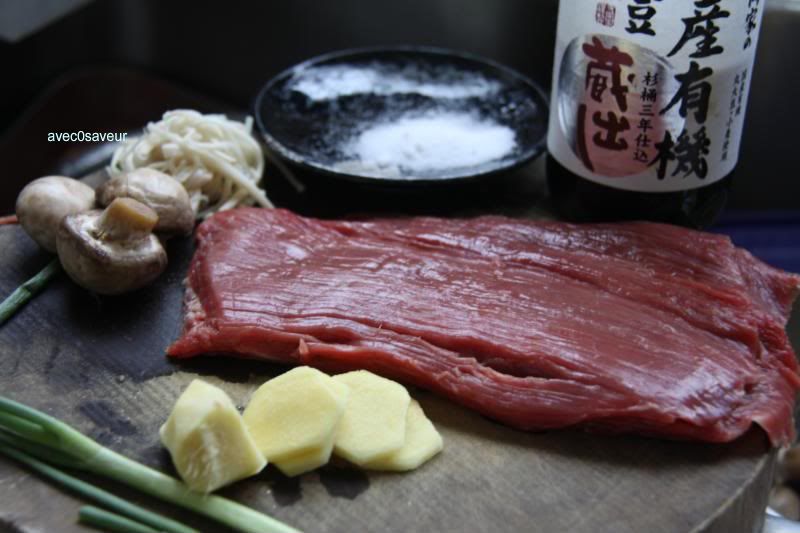
1lb flank steak, thinly sliced (or a package of shabu-shabu style beef)
1/2lb mushroom of choice (I'll be using enoki and button mushroom in this)
3tsp dark soy sauce
2tsp sugar
1tsp mirin
3 slices of ginger
2 scallions
1tbls oil for frying
2 tbls cornstarch+3tbls water
Utensils:
mixing bowl
fork
frying pan
spatula
~Place beef in mixing bowl, add 1tsp of the soy and mix. Set aside and let marinate for about 15mins. Then slice the mushrooms. Next, brown the ginger in oil over medium high heat. Add the mushrooms and sautee until soft. (They will release quite a lot of liquid. That is perfectly alright as we'll be using that to simmer the beef) Then add in the remaining 2tsp of soy sauce, sugar, and mirin.
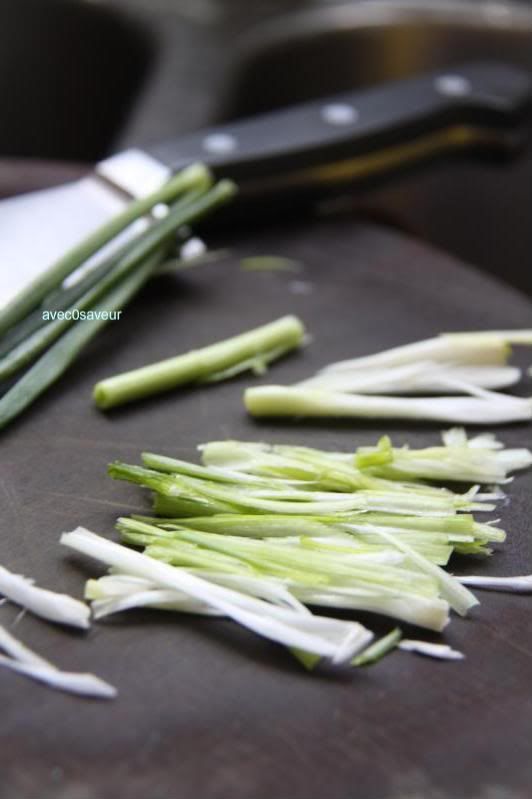
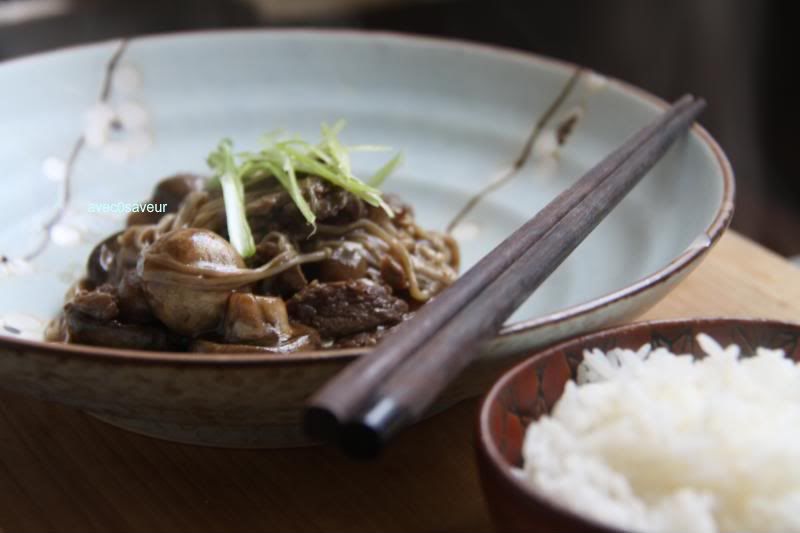
~Allow the liquid to reduce by half (about 5-8mins). Add the slices of beef to the mushrooms and simmer until cooked (10-15minutes, depending the thickness of the beef). Then add the cornstarch-water mixture to the beef and let simmer for another 2-3mins until thickened. Cut the scallions into 1in pieces, then slice them in half and finally into slivers. Plate the stew and garnish with scallions.
~Serve with rice if you'd like!

I've learned to spite the laptop after those two days... along with the color green. Aah...I should seriously stop procrastinating on replacing my graphics card. That green is really getting to me. -shivers-
But anywaay, back to the stew. Well, truthfully it's not quite a stew, rather it's more of a simmered dish... with beef and mushrooms. I tend to just throw ingredients together and just let them simmer when I'm super exhausted. But it, hey, works... most of the time! ^_^;

You can use any type of mushroom for this dish, though I wouldn't use dried ones since by the time they're done, the meat will become tough as they take a bit of time to cook.
Sweet 'n Savory Beef "Stew"
We'll need:
1lb flank steak, thinly sliced (or a package of shabu-shabu style beef)
1/2lb mushroom of choice (I'll be using enoki and button mushroom in this)
3tsp dark soy sauce
2tsp sugar
1tsp mirin
3 slices of ginger
2 scallions
1tbls oil for frying
2 tbls cornstarch+3tbls water
Utensils:
mixing bowl
fork
frying pan
spatula
~Place beef in mixing bowl, add 1tsp of the soy and mix. Set aside and let marinate for about 15mins. Then slice the mushrooms. Next, brown the ginger in oil over medium high heat. Add the mushrooms and sautee until soft. (They will release quite a lot of liquid. That is perfectly alright as we'll be using that to simmer the beef) Then add in the remaining 2tsp of soy sauce, sugar, and mirin.
~Allow the liquid to reduce by half (about 5-8mins). Add the slices of beef to the mushrooms and simmer until cooked (10-15minutes, depending the thickness of the beef). Then add the cornstarch-water mixture to the beef and let simmer for another 2-3mins until thickened. Cut the scallions into 1in pieces, then slice them in half and finally into slivers. Plate the stew and garnish with scallions.
~Serve with rice if you'd like!
Subscribe to:
Posts (Atom)