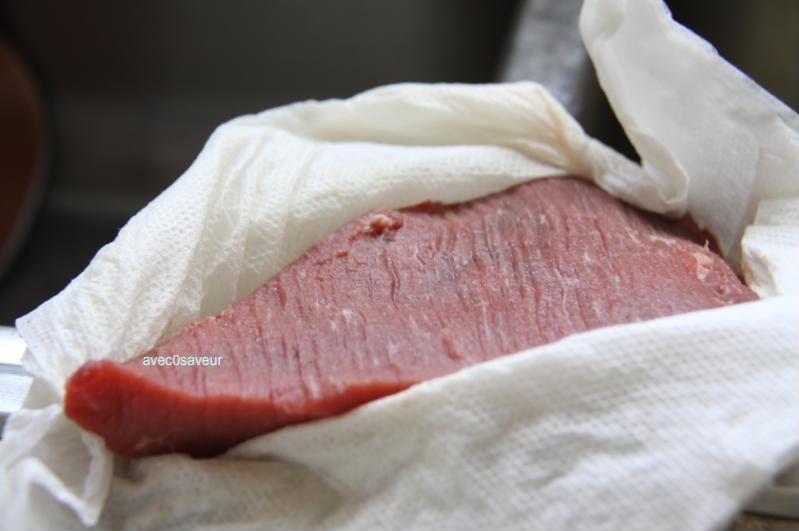
(normally, briskets come with a layer of fat, called the "fat cap," but the butcher got rid of it here -_-)
I'll show you how to make a fairly simple baked brisket in this post. Originally, this recipe called for it to be cooked in a slow cooker, but since I don't have one, I converted it for the oven. So, you can make this via the slow cooker, too... which yields even much more tender and juicy results.
This is a perfect dish for those lazy Sundays, when you don't really want to cook but have to anyway, since all all you have to do is put it in the oven and let the brisket do its thing for about 3 hours, without any need to check on it.
Baked Beef Brisket (adapted from allrecipes.com)
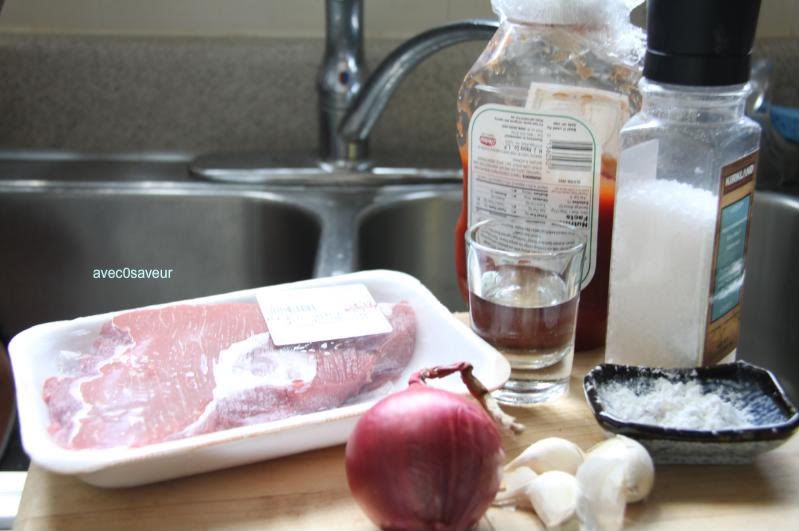
We'll need:
1x 1lb beef brisket
1 small onion
3 cloves of garlic
1/2 tsp salt
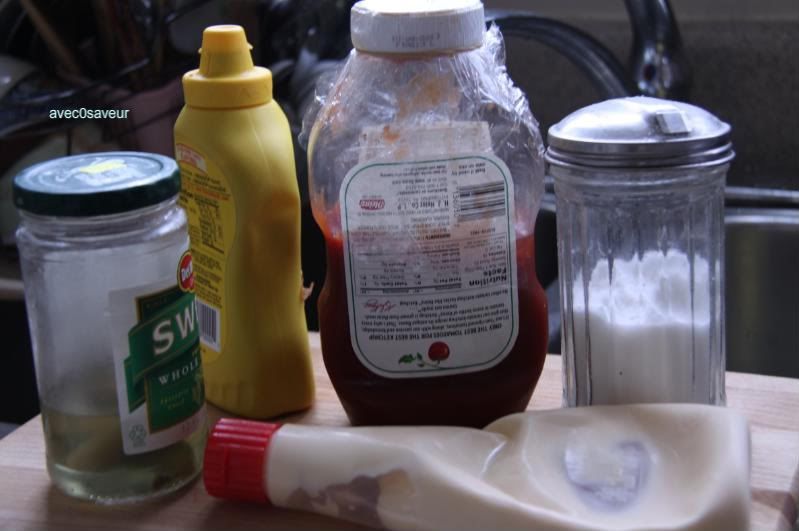
2 tbls ketchup
2 tsp oil (olive, vegetable... etc)
1/4 cup water
-for the sauce-
liquid from the cooked brisket
2 tsp ketchup
2~3 tsp cornstarch mixed with 2tbls of water
Utensils:
measuring spoons/cups
fork or a small whisk
baking dish
foil
kitchen knife
cutting board
slow cooker (if using)
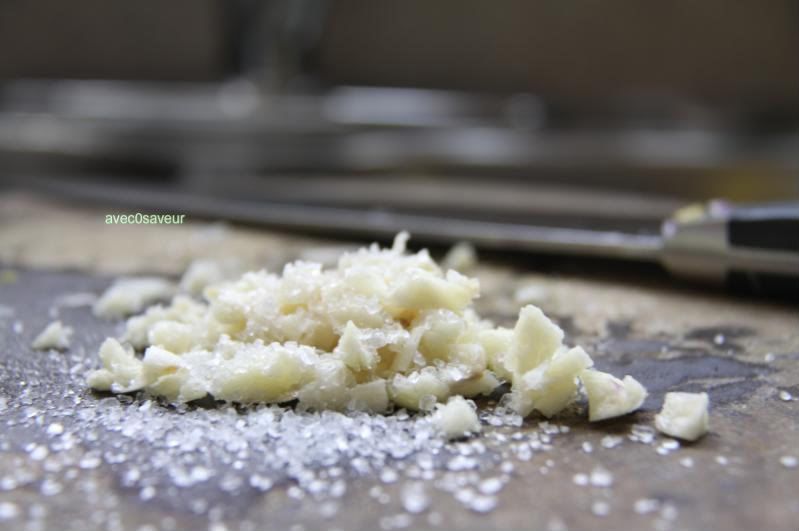
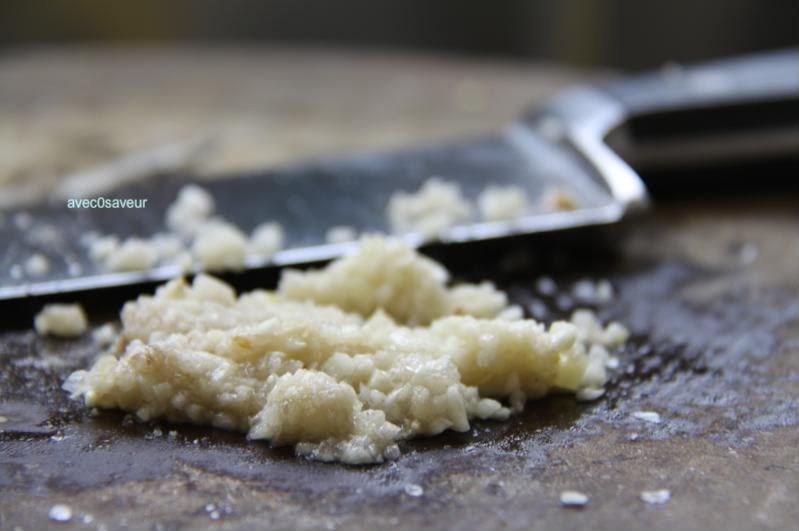
~Wash and dry the brisket, trim off some of the fat, and set aside. Then thinly slice the onion. Crush the garlic with the side of the knife, sprinkle with the salt, and mince. The granules of salt will help grind the garlic into a finer texture.
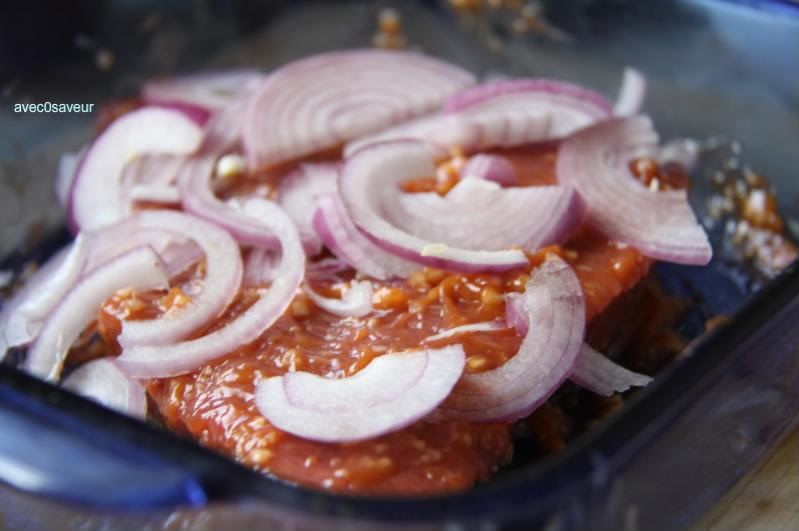
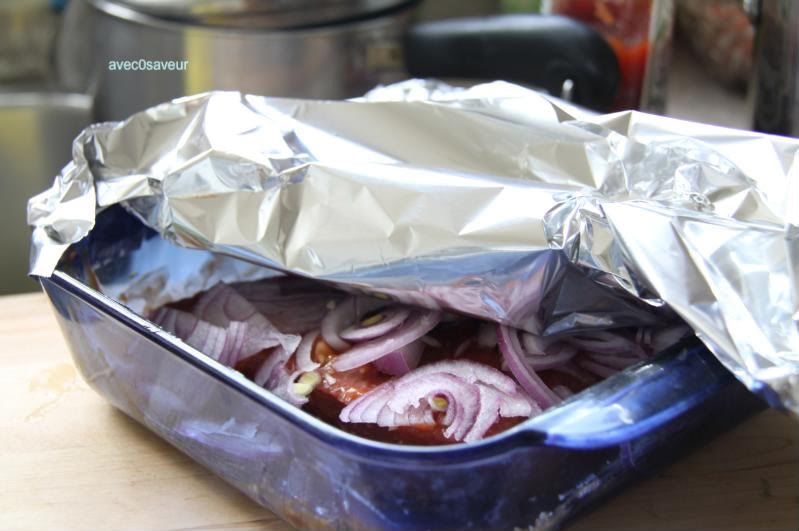
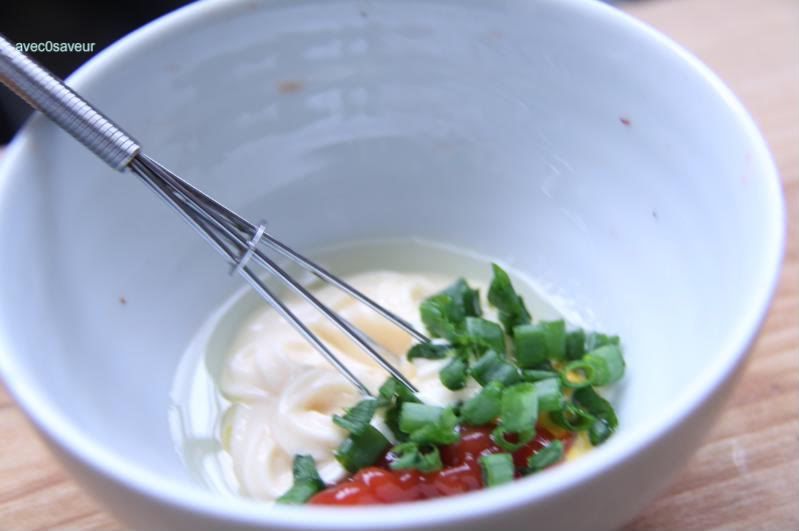
~In the baking dish, combine the ketchup, oil and minced garlic with the fork (or whisk). Place the brisket in the dish and cover with the ketchup mixture and sprinkle with the sliced onions.
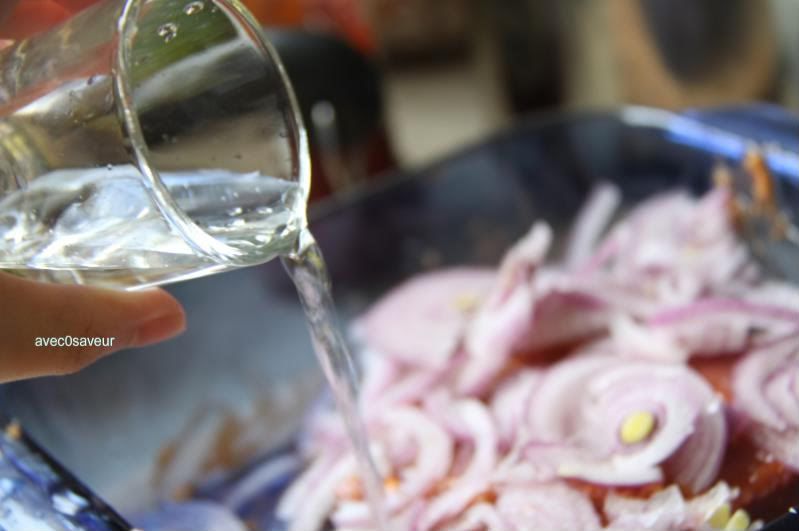
~Pour the water into the dish, cover loosely with foil and bake at 300F for about 3 hours or until tender. (If using the slow cooker, just place all the ingredients in the cooker (except for the ones for making the sauce) and let it cook on low for about 5hrs)
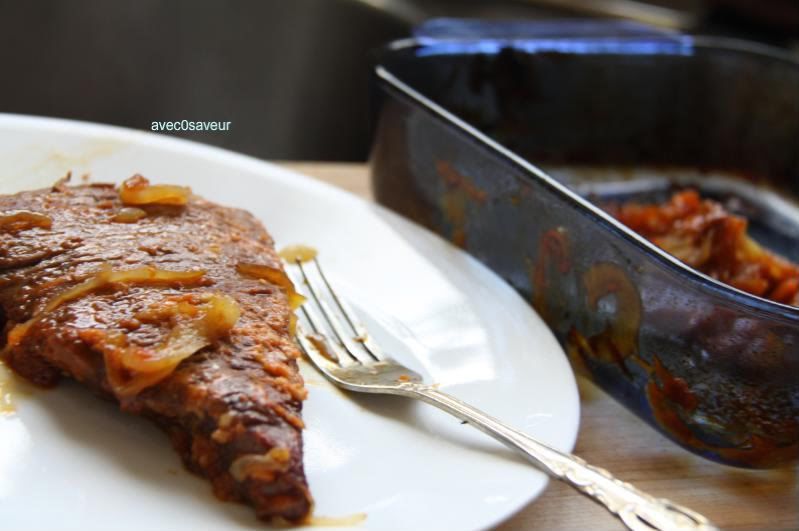
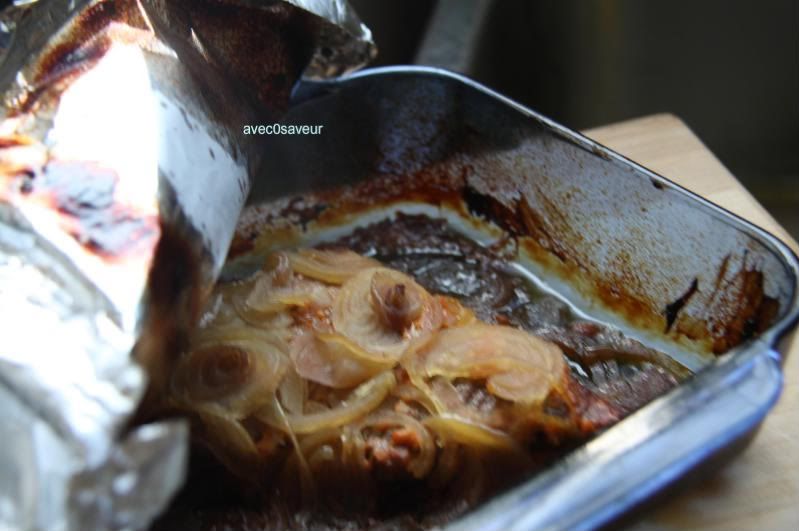
~When the brisket is done, remove the brisket and set aside, tenting (covering it loosely) it with the foil used during the baking process. (Be careful! It's super hot!) Then, pour the juices from the baking dish into a sauce pan set over medium heat, adding the ketchup and the cornstarch-water solution. Simmer until sauce thickens and pour over the brisket.
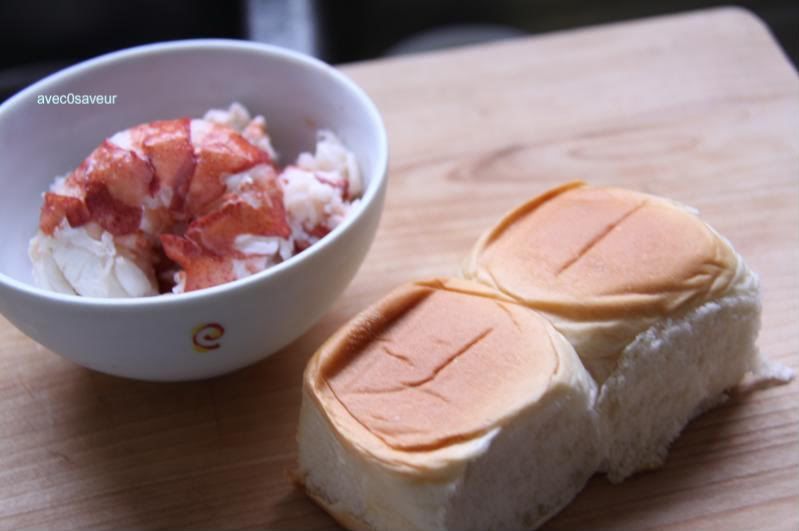
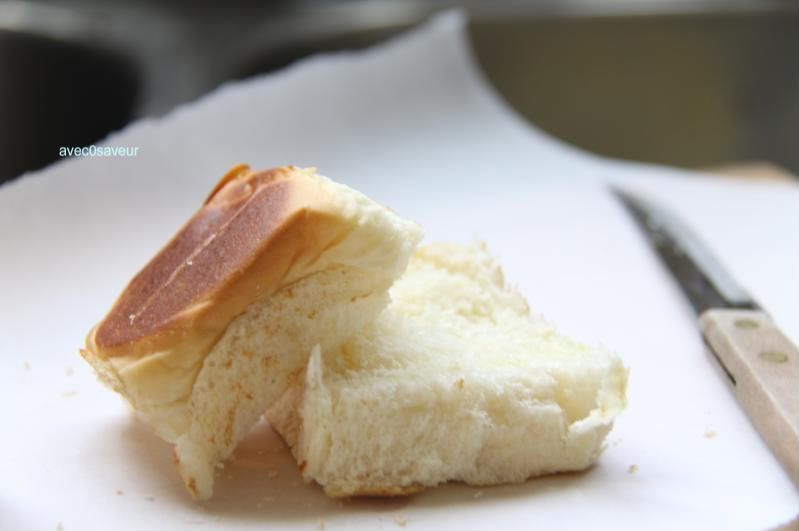
You can serve this in many ways, simply slicing it into pieces or pulling it apart with a fork and serving it between toasted dinner rolls, over rice, or over pasta... the possibilities are limitless~
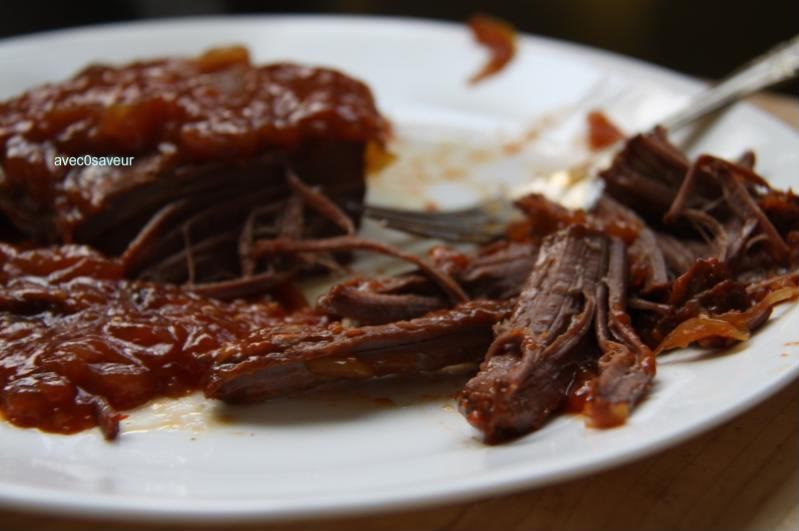
Enjoy!


