Saturday, 2 October 2010

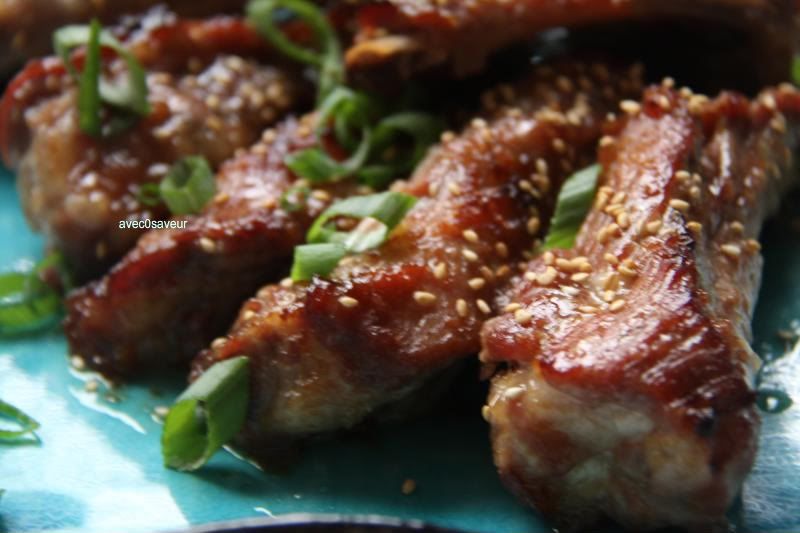
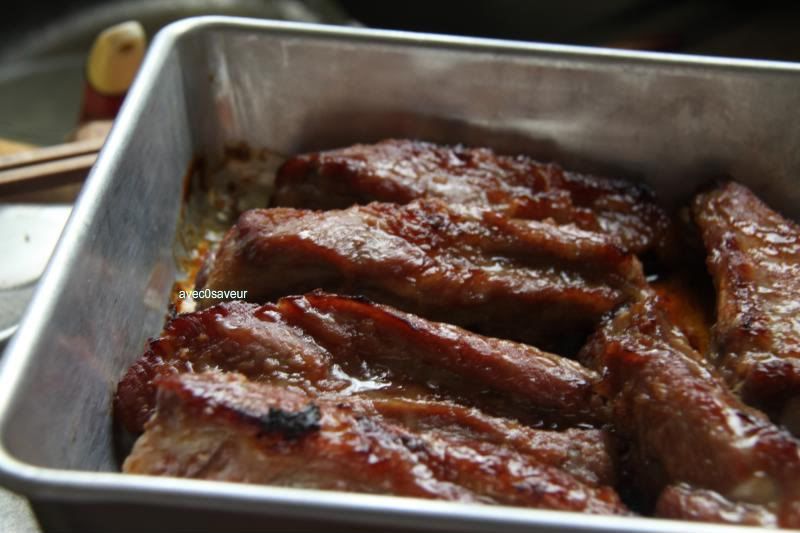
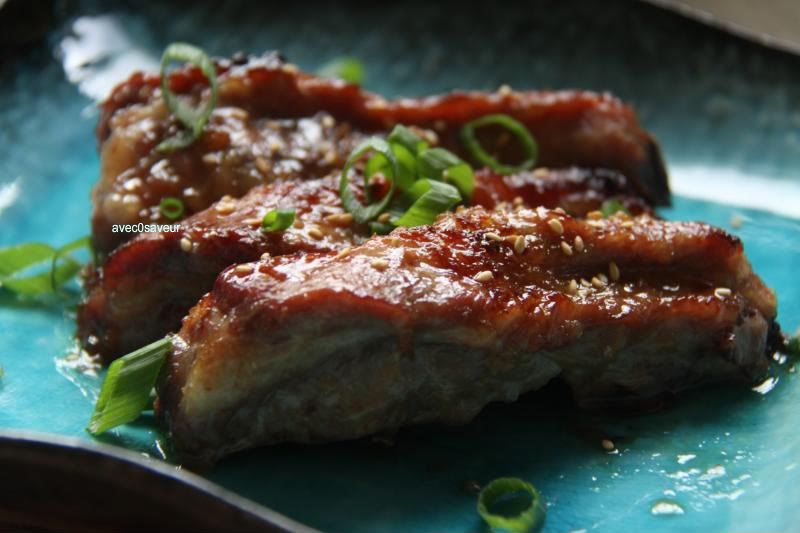
honey garlic ribs.

It's finally Sunday and alas, it's nearly Monday~ the two extremes. Though for the meantime, it's still Sunday, so let's try to savor the last few hours before we've to slip into slumber and march to our lectures or office the next morning. Life goes on, whether our sleep-deprived selves are ready or not. Unfortunately.


I'm still trying to pull myself together, but it's rather difficult since matters of the heart and amour are sadly being aweaved to my woes. But, anyway, I've been craving comfort foods as of late. Something flavorful and soothing to the soul... and what better than honey garlic ribs!

Simple ingredients with equally simple preparation. It's totally worth a try!

honey garlic ribs

we'll need:

4~6 pork ribs (washed and dried)

1tbls grated ginger
1 clove of garlic (minced)
1tbls sake (Japanese rice wine)
3tsp soy sauce
2tsp sesame oil
1/4 cup honey

toasted sesame seeds and chopped scallions for garnish
steamed rice to serve

utensils:
measuring spoons/cups
mixing bowl
fork
plastic wrap
baking dish (large enough to fit the ribs)

>>preheat oven to 375F<<

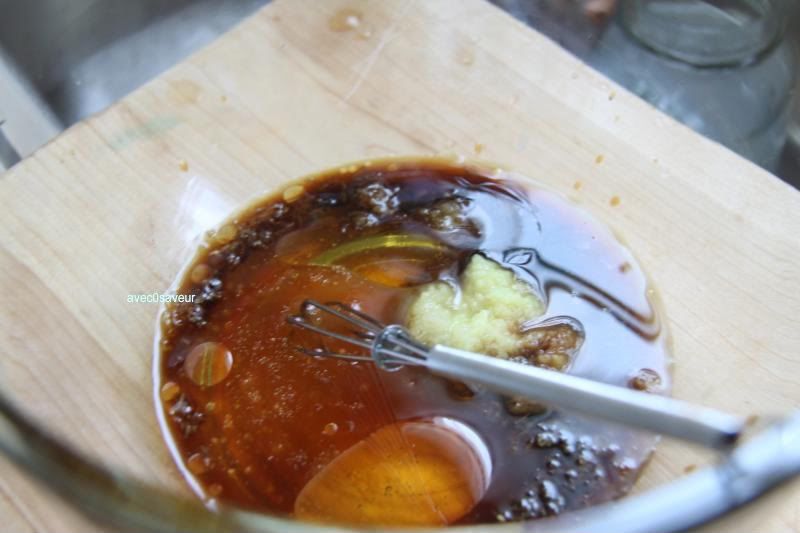
~In the mixing bowl, mix together the grated ginger, minced garlic, sake, soy sauce, sesame oil, and honey with the fork. Next, add in the prepped ribs and toss until evenly covered with the marinade. Cover with plastic wrap and place in the fridge for at least 1/2hr.


~Drain off the the marinade from the ribs into the bin and line them up in the baking dish. Bake for 30~35mins. Then, turn the broiler on to high and broil for 3~5 mins, until the ribs color and a hint of char appears on the edges. Carefully remove from the oven and let rest on the counter for 3 mins. Plate and garnish with the toasted sesame seeds and chopped scallions.

Thursday, 30 September 2010

brown butter cinnamon pizzelles.

I'm back! Please do excuse my rather long absence. It's been a crazy couple of weeks. Things are slowly calming down and retuning to normal, but even so, I've yet to begin the recovery process yet. Just trying to let reality sink back in, after losing my mentor in life and in the kitchen. For today's post, I bring you something sweet, as requested by a darling friend.

Anyway, it's been quite hot as of late. The weather's been erratic, with one day being as hot as a midsummer's day and the next carrying the sharp sting of winter's breath. Yet, for now it's been really hot~ so that gives me a reason to indulge in ice cream (aside from nursing my poor soul and heart).

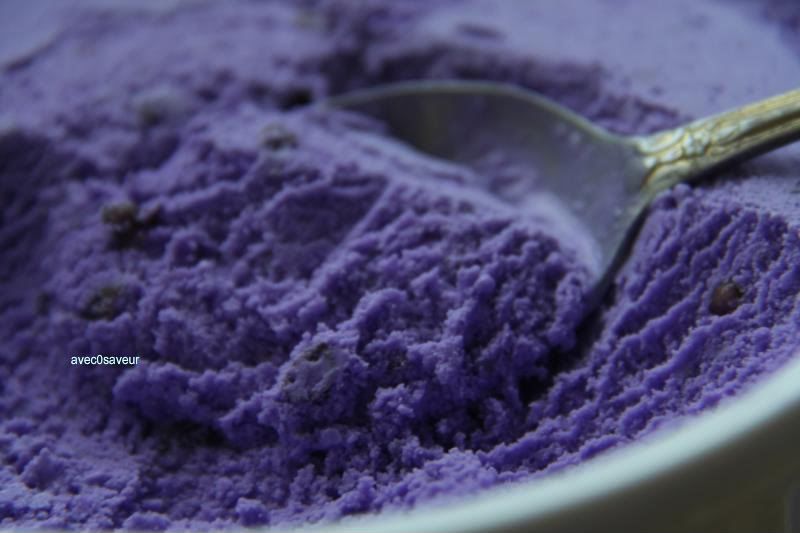
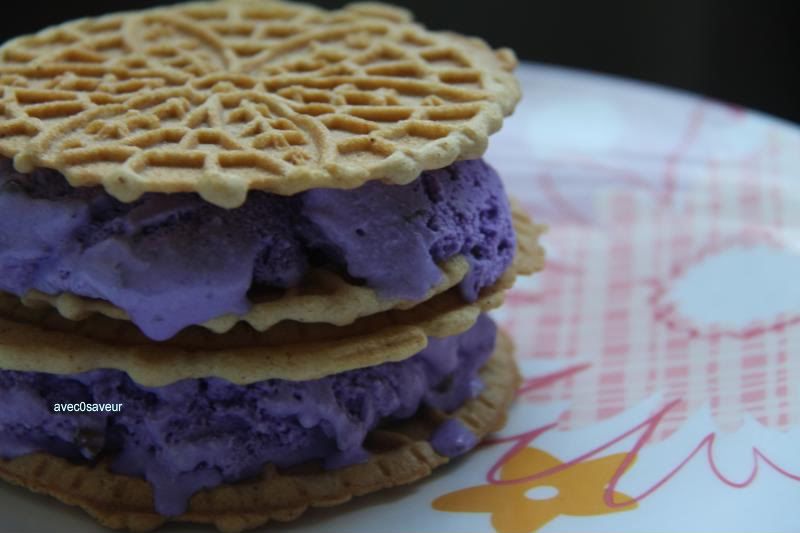
I went to my local grocer's, returning with a container of ube (taro) and red bean ice cream, deciding to deviate from the norms of vanilla and chocolate flavors. The ube has a nice mellow, almost coconut-like flavor to it while the red beans add a bit of contrast to the smooth texture of the ice cream. Though, truthfully, I bought it because it was purple. >_>; I'm a sucker for colorful things. After indulging for a bit whilst staring at the container of that purple-ly goodness, I thought, if only there was some crunchy counter-part to this. And the first thing that came to mind was...

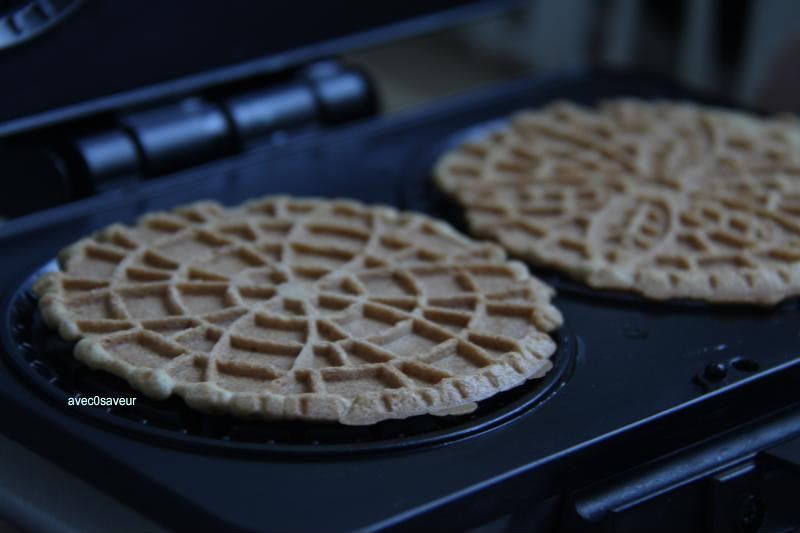
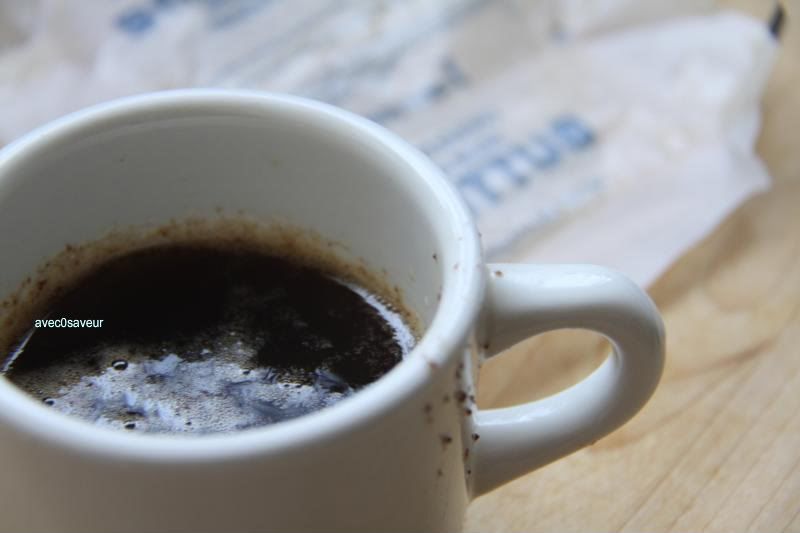
Pizzelles! And not just your ordinary ones, but brown butter pizzelles with a dash of cinnamon. The brown butter adds an extra layer of depth to the cookies so it can stand up to the intensity of the ice cream, while the cinnamon cuts through its richness. These are also lovely dipped into a steaming cup of tea or coffee. Or just by themselves whilst browsing cute dresses online. =]


 To brown butter, simply melt it as you would ordinarily in a saucepan, but allowing it to remain on the heat until the milk solids begin to turn a light shade of brown (or a bit darker for a nuttier flavor).

 brown butter cinnamon pizzelles 
(adapted from allrecipes.com)

we'll need:
3 eggs
3/4 cup sugar
1/2 cup browned butter (cooled)
1/2tsp ground cinnamon
1tsp vanilla extract
1 3/4 cup flour
2tsp baking powder

Optional: ice cream of your choice to serve

utensils:
pizzelle press
mixing bowl
measuring spoons/cups
whisk
sieve
small pairing knife
cooling rack

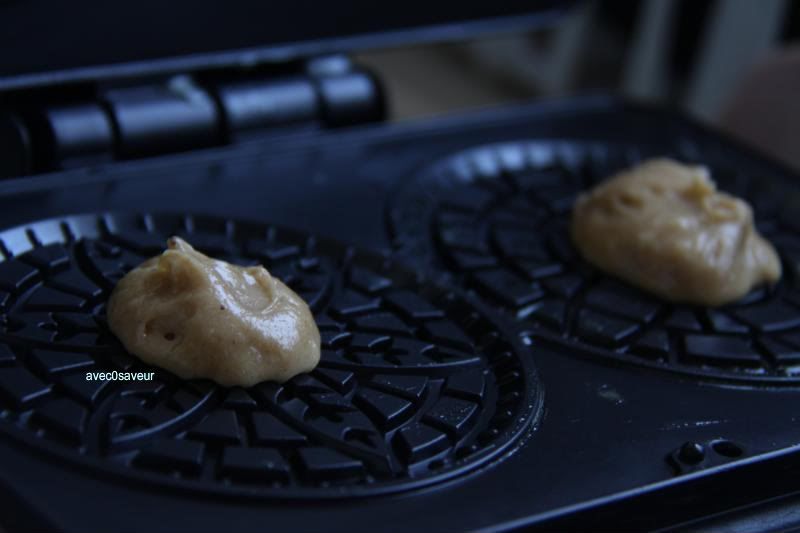
~In the mixing bowl, whisk the eggs and sugar together. Then add the cooled browned butter, cinnamon and vanilla extract to the sugar mixture. Next, sift the flour and baking powder into the bowl and incorporate until it comes together as a loose dough-y mixture. Spoon the mixture by tablespoonfuls into the pizzelle press and cook according to the instructions.

~Remove the cookies with the tip of the knife and carefully set it on a cooling rack to let harden. (Note: While it's still hot, you can roll the cookies into cones or place it over a bowl to shape them)

For a chocolate version: add 3tbls of cocoa powder + 3tbls sugar, omit the cinnamon if desired. 

To serve, you can spread a thick layer of ice cream on one cookie, topping it with fruits, nuts, whipped cream.. etc. Or you can make ice cream sandwiches with them!
Thursday, 19 August 2010

notice.

 Update: Posting will resume after the 26th. I'll try to establish a normal schedule for updates... I'm thinking maybe Wednesday and Friday Saturday evenings~Much thanks for bearing with me. m(-_-)m


Just wanted to let you all know that I'll be taking a short break from updating due to an unexpected family emergency. My apologies. Thank you for your understanding. Keep cooking!

-ht (avec0saveur)

Monday, 26 July 2010

watermelon refresher.

It's the time of summer where watermelons are just bursting with juice and mind-blowingly sweet. This is one of my favorite ways to enjoy them.


Watermelon Refreshers (I am terrible at coming up with names! ><;): Simple, quick and wonderful for entertaining. Garnish with a sprig of mint for a nice added touch of elegance.

Watermelon Refreshers

We'll need:
2 cups  fresh watermelon, seeded and cubed.
1 cup sparkling water (or club soda)
1-2tbls honey or sugar (optional)
juice of 1/2 medium lemon or 3 limes

ice cubes
sprigs of mint for garnishing

Utensils:
measuring spoons/cups
blender
sieve
a large jug
tumblers or glasses for serving

~Place all ingredients except for the mint into the blender and blend until there are no visible chunks of watermelon. Strain the watermelon mixture into the jug and pour into individual glasses or tumblers filled with ice. Garnish with mint and serve!

Friday, 23 July 2010

crepes suzette.

The sun finally decided to pay The City a visit today. One of those rare occasions where it'll peek through those billowy clouds and bequeath unto the cityscape that blissfully warm sunlight. Unfortunately, the sun doesn't like to linger too long around here, always worrying that it's overstaying its welcome. By the time the afternoon came around, the sky returned to its monotonous gray as the cold slipped through once more, sending shivers down spines and jackets on children.

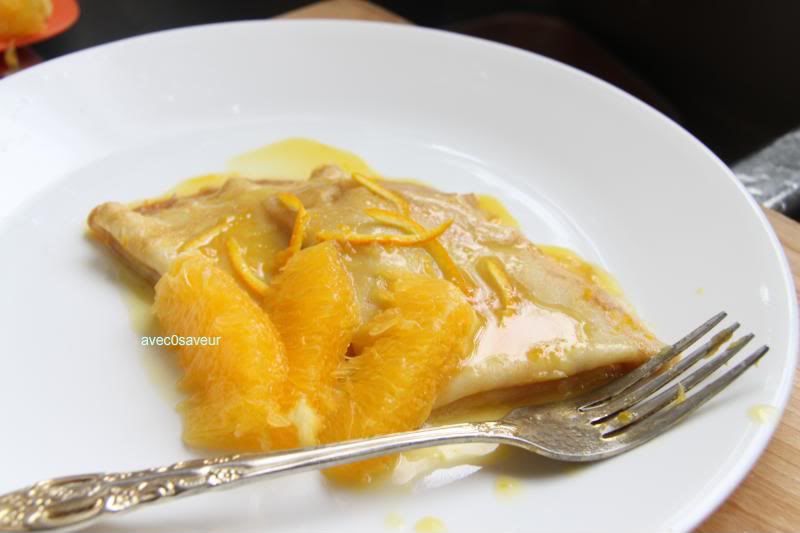
And so, in a mad attempt to retain that evanescent warmth of the sun~ I've decided to make crepes suzette. There's nothing like that taste of orange to remind me of those long summery days drenched in heat, under that endless blue sky. Along with the fact that there's a whole crate of oranges that needs to be used up. >_>;;

Crepes Suzette
(adapted from Desserts: 365 Delicious Step-by-Step Recipes by Martha Day)

1 recipe prepared French crepes (adding 1tbls orange zest and 1tbls Gran Marnier[optional])

6tbls unsalted butter
1/4 cup granulated sugar
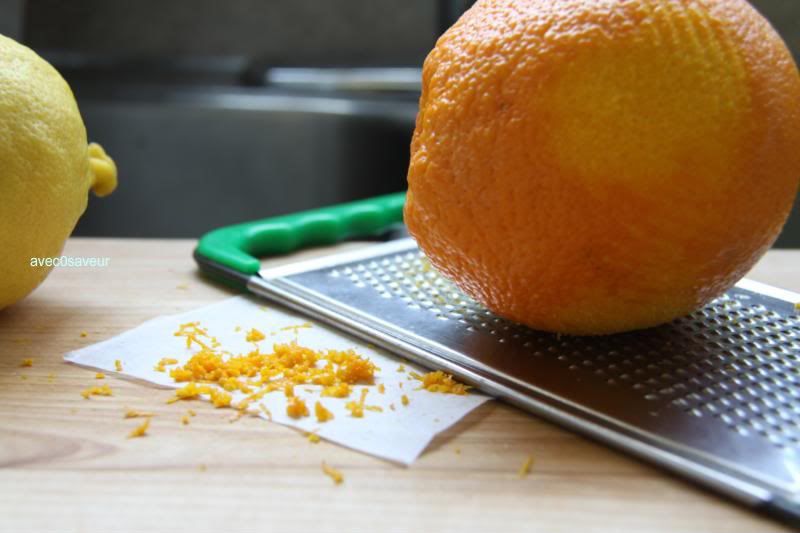
grated rind and juice of 1 large orange and lemon
2/3 cup fresh orange juice
2tbls Gran Marnier (orange liqueur||optional)
1/4 cup cognac and/or brandy  (optional)

orange segments to decorate*

Utensils:
measuring spoons/cups
fork
large frying pan
matches (preferably ones with a long handle)
pairing knife

~Melt the butter in the frying pan over medium-low heat, then stir in the sugar, the rinds and juices along with the Gran Marnier, if using. Bring the mixture to a boil until thickened (about 3-4 minutes). Place a crepe in the pan, swirling gently to coat with the sauce. With the fork, fold it in half, then in half again, forming a triangle and push to the side of the pan. Continue heating and folding the crepes until all are warm and covered with the sauce.


Optional part: Pour the cognac and/or brandy over the crepes, light a match and carefully hover the flame over the pan until the liquor is ignited. Put out the match and toss in the sink (not in the trash bin!!). Allow the flames to burn off. Serve immediately.


*To "supreme" or cut the orange into segments. With a pairing knife, cut off the ends and prop it flat-side down, cutting away the remaining skin on the sides. Then carefully cut the flesh out from between the white membranes and you have just "supremed" an orange. =)

Wednesday, 21 July 2010

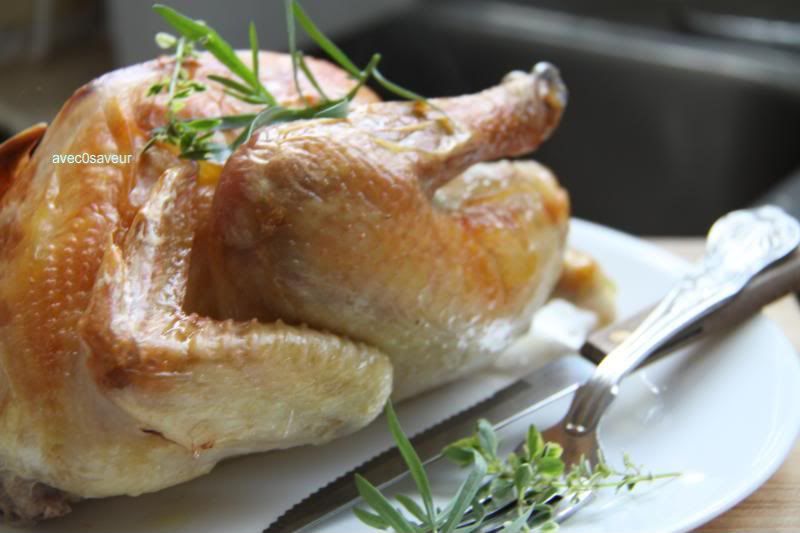
herb roasted chicken.

The herbs in the garden are thriving... for once. Everything I plant seems to wither on me a week into its life in my little abode.


Oh, the soft warm summer breeze, carrying with the the sweet scent of tarragon and thyme and perhaps rosemary. I wish. It's mainly foggy and cold here in The City.  Though, on occasion we are blessed with sunshine and a taste of summer heat, which is best spent lounging under a tree with a good book or at the beach with someone.


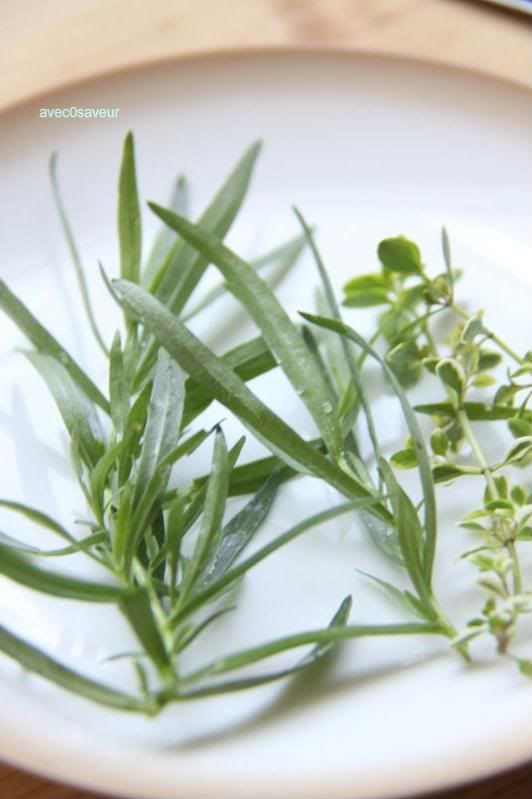
This recipe is quite versatile. You can substitute the herbs here for any of your favorite. I've chosen tarragon and lemon thyme.

Herb Roasted Chicken

We'll need:

1x 3lb 8oz whole chicken (preferably free-range and hormone free)
1/2tsp salt
2tbls unsalted butter (softened)
3 sprigs of tarragon
3 sprigs of lemon thyme
2 cups chicken stock

Utensils:

paper towels
measuring spoons/cups
roasting pan
foil
saucepan

>>preheat oven to 400F<<

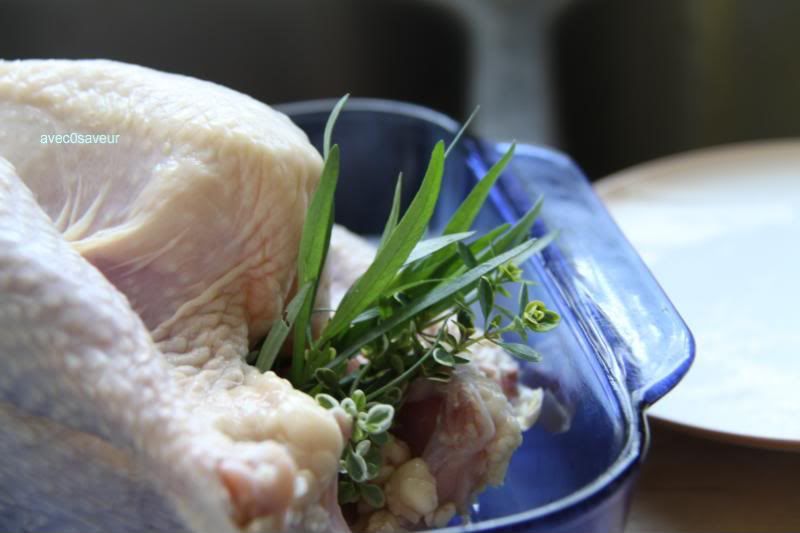
~Rinse the chicken in running water, thoroughly cleaning the cavity, washing out all the blood and impurities. Then, dry with the paper towels and place in the roasting pan, breast side up. Sprinkle the outside of the chicken with salt and rub the butter evenly underneath the skin, concentrating on the breasts so to prevent them from drying up in the cooking process. Next, stuff the herbs into the cavity of the chicken.


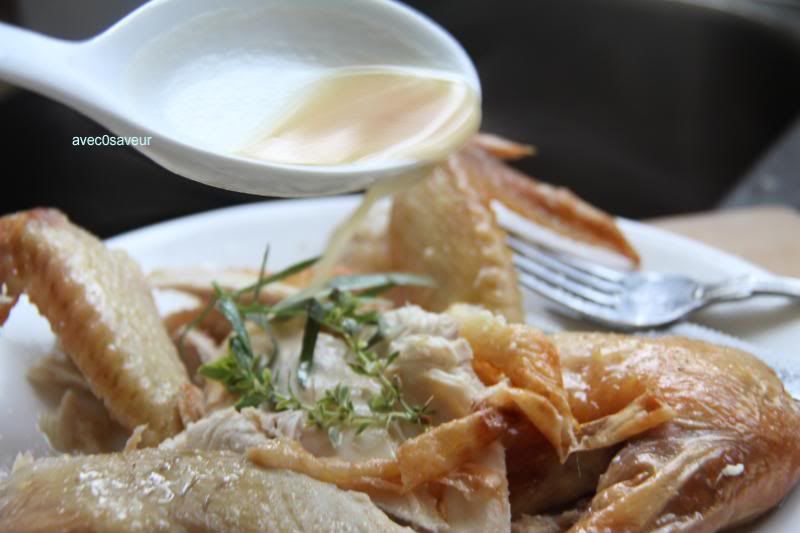
~Pour the chicken stock into the roasting pan and cover with foil. Place into the preheated oven and bake for about 1hr 20mins or until the juices run clean when pierced with a knife. Remove the foil in the remaining 30mins to brown. If it still isn't brown enough, you can use the broiler (but I don't suggest putting it under for more than 15mins, as that will result in a very dry chicken). Once the chicken is out of the oven remove it from the pan and place on a plate or cutting board to let cool. Drain the juices into the saucepan and place on a burner set to medium. Reduce the sauce until half (about 5~10mins). You can also add a spot of butter to "finish" the sauce.


~Carve the chicken and pour the sauce over it~ serve!

Sunday, 18 July 2010

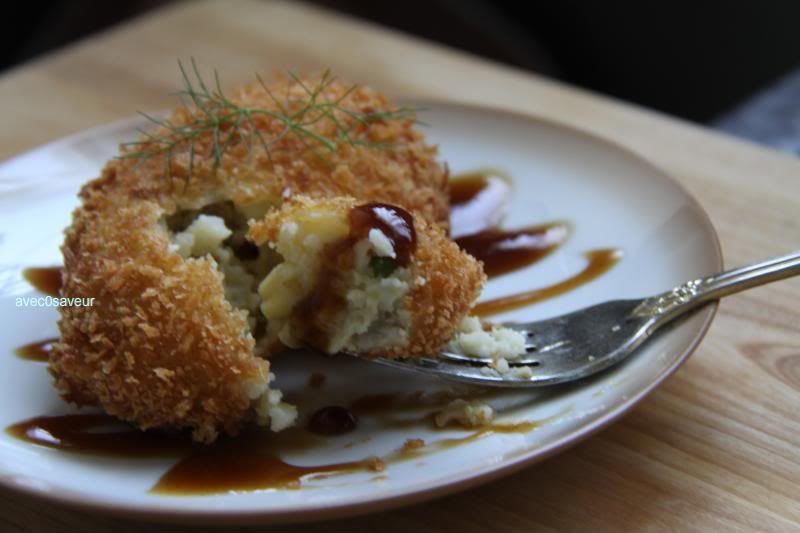
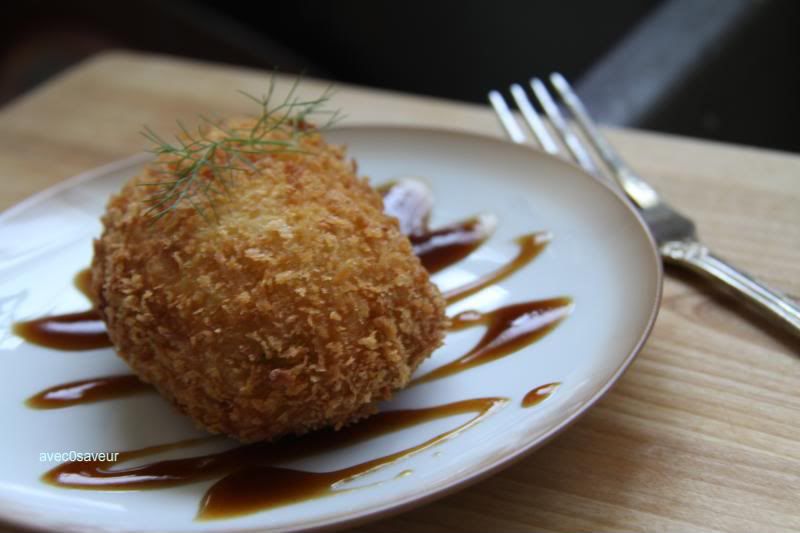
Curry Croquettes (カレークロケット)

Comm is finally over! I can finally direct my attention and effort toward this blog (along with my art site)~ So expect more frequent updates from now.


Anyway, I digress~ onward to the curry croquettes! So, as I've said, if you've a bit of leftover filling, egg wash, and panko from the curry bread recipe, you can totally make use of them in this recipe. =)


Curry Croquettes (カレークロケット)


We'll  need:
4~5 medium-sized russet potatoes (peeled, boiled and cooled)
left-over curry filling from the curry bread (or just halve the recipe)
1.5 cups  vegetable of choice (blanched and diced) or frozen vegetable medley

-egg wash-
1/4 c. milk
2 eggs

left-over panko (or 1.5 cups)

Oil for frying
ketchup, tonkatsu or okonomiyaki sauce for serving (optional)


Utensils:
large mixing bowl
spatula
measuring cups
fork
two shallow dishes
baking sheet lined with parchment
heavy pot
candy thermometer
frying spider
cooling rack or a a few dishes lined with paper towels

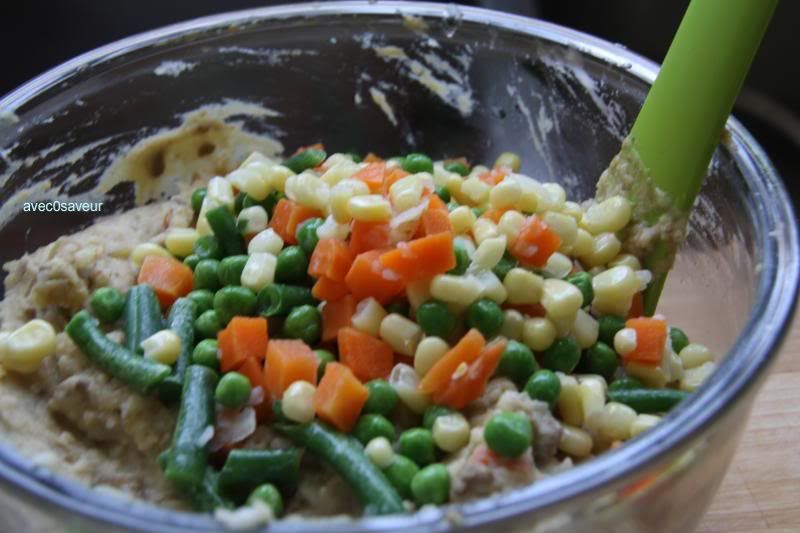
~In the mixing bowl, mash the potatoes with the fork until there are no visible lumps of potato. Then add the curry filling into the bowl, mix with spatula until evenly incorporated. Next, add the vegetables and mix well. With wet hands, carefully shape the potato mixture into balls (as large or as small as you like) and place onto the parchment-lined baking sheet. Freeze until firm (about 20-30mins).


~In one of the shallow dishes prepare the egg wash by whisking together the eggs and milk. Place the panko in the other. Remove the potato balls from the freezer and quickly dredge in the wash and then in the panko crumbs, return each prepared croquette back onto the baking sheet. Fill the heavy pot halfway with oil and heat on med-high, until it reaches 350F (about 8-10mins). Fry the croquettes, two or three at a time, until golden (about 10-15mins).  Remove with the spider and place on a cooling rack or paper towel-lined plates to drain.


Serve with tonkatsu or okonomiyaki sauce, or if those aren't available, you can use ketchup or even steak sauce.