Showing posts with label dessert. Show all posts

Tuesday, 12 April 2011

rainbow cake.

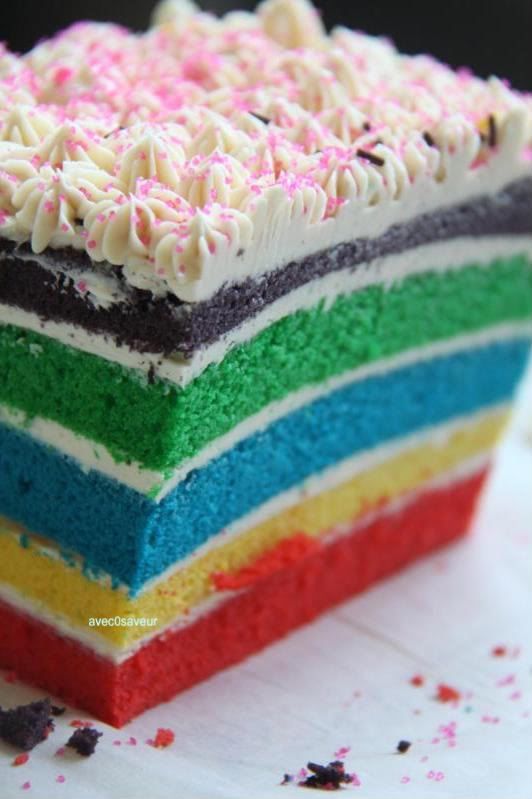
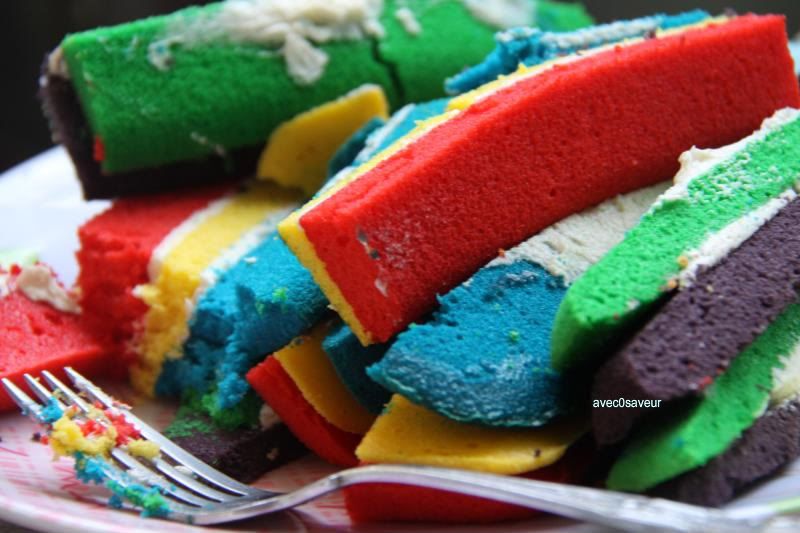
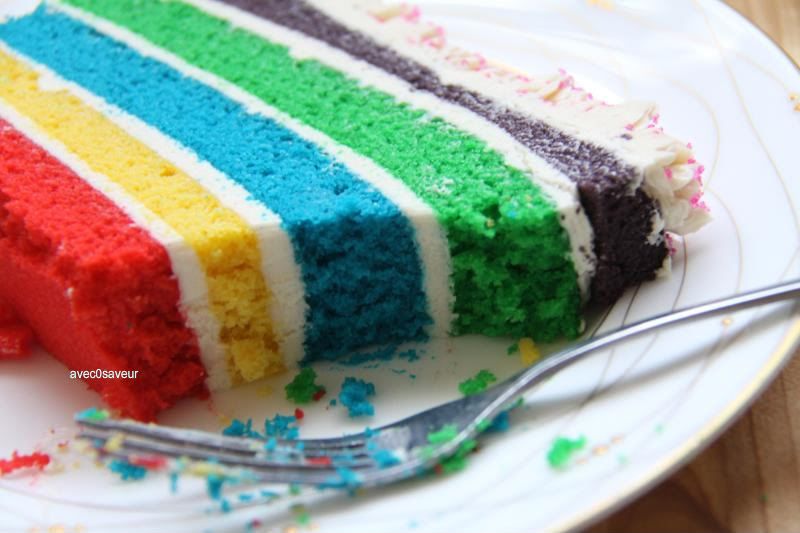
I'm back! I have no excuse for my three month absence. So I'll apologize with a rainbow cake instead. Perhaps the colors will distract you enough to make you forget you were going to throw that kitchen knife at me out of anger. Just kidding. =)


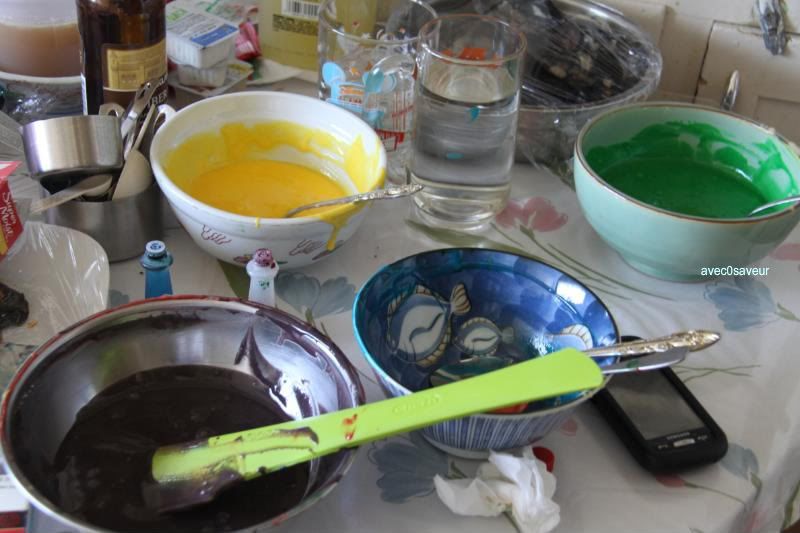
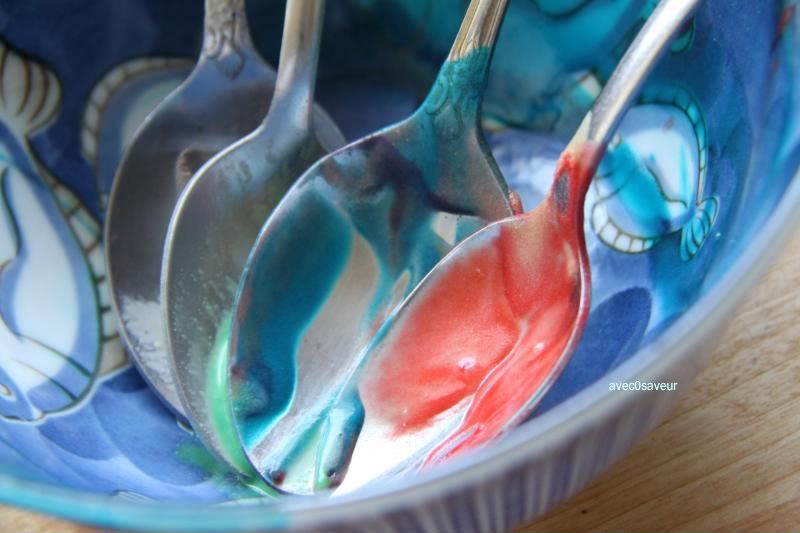
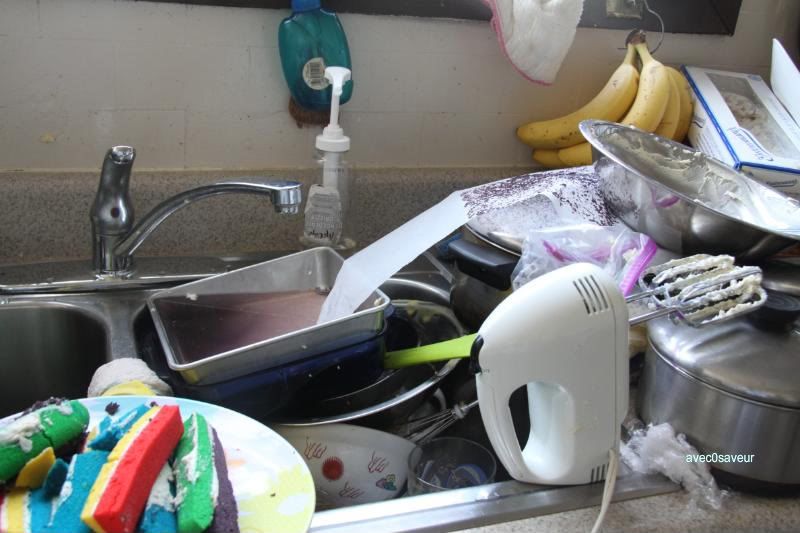
I've wanted to make this cake for a while, but I've always ended up putting it off for some reason. Mostly because I didn't want to deal with the dishes or clean up that came with this little project. My kitchen ended up looking like this for a while.


It was utter pandemonium! Ignore the beer. I was working on a beer-based oxtail stew earlier. I'll upload that recipe sometime after this.

This cake would be easier to make if you had a few extra pans of the same size with you. It's alright if you don't, it'll just be a bit more time consuming since you'll have to wash out the pan each time you baked a certain color. I alternated between two pans. It was still a hassle, but it somewhat cut the time in half.


I didn't really follow or come up with a recipe for this cake. In a sense, I sorta just winged it and improvised as I went along. For the actual cake, I just used a box of cake mix (-le gaspe- How blasphemous! I know, but for test-projects like this, I make an exception)

It's more about what flavors you add to the icing and to the batter, rather than the steps to making this cake, since it's fairly simple. This is the time where you flex your creativity and push boundaries. If you were feeling extra special, you could buy fruit extracts and add them to the batter according to color (ie. Red for strawberry or cherry, yellow for lemon or banana... etc.) OR you can mess with people by mixing up the colors and flavors.


As for the filling, I'd stick with a basic Italian buttercream as I find the white color of it helps make the colors even more vibrant, allowing each to stand out. In this case, I added a bit of Irish cream to it, just because. I figured cognac would be a tad too strong and harsh to the average palate (aka the alcohol-hating friends), though Grand Marnier would work as well. Adds a nice orange-y kick to it (though that'd only work if you didn't flavor the batter with the fruit extracts).

Rainbow Cake

(Italian buttercream adapted from: Allrecipes)

We'll need:

-for the cake-

2 boxes of your favorite plain cake mix (or cake recipe, doubled)

Choice of food coloring (4 or 5 colors is ideal)

Choice of fruit extracts (optional)

-for the Italian buttercream-

1 1/4 cups white sugar

2/3 cup corn syrup*

2/3 cup water

5 egg whites

1 1/3 cups unsalted butter, chilled and cubed

2 teaspoons vanilla extract

3~4tbls Irish cream or Grand Marnier (optional)

**Preheat oven to 350F**

Instructions:

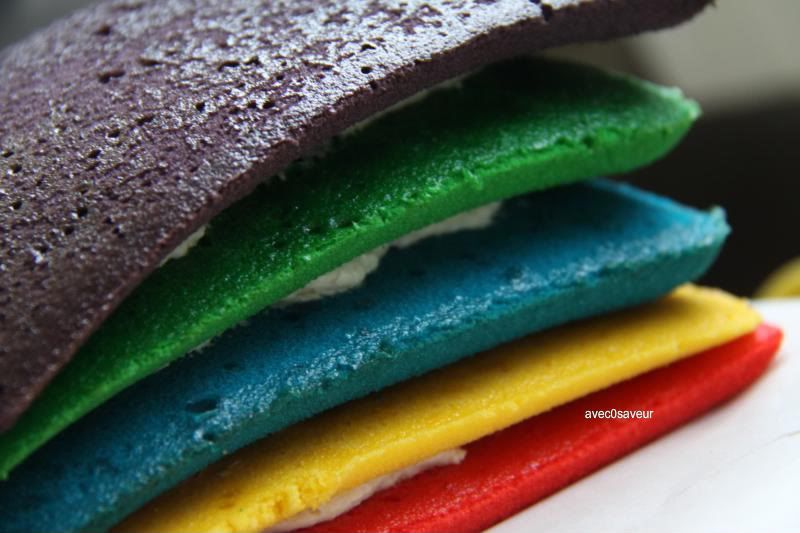
~In a large mixing bowl prepare the cake batter as directed by the box or by the recipe you're using. Separate the batter by 3/4 cupfuls into separate bowls. Next, add the desired food coloring to each bowl. (Don't be shy, try mixing colors and see what you come up with!) Then, if using, add the fruit extracts to each respective batter. Set aside.

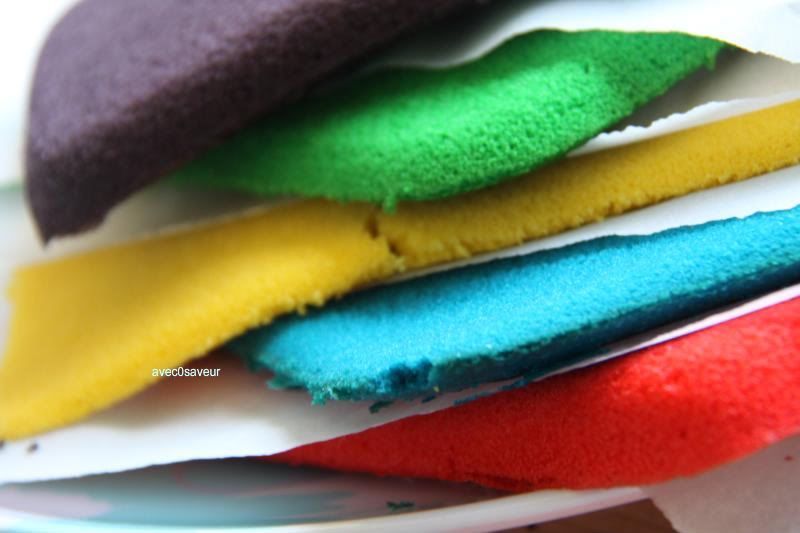
~Butter an 8x8inch square baking pan or a 9inch round and pour one of the batters into it, spreading evenly by gently tapping the pan against a hard surface. Then place into the preheated oven and bake for about 5~15mins. (Note: Don't depend on a timer alone, be sure to check the cake frequently to prevent the bottom from turning brown. That will discolor the cake and make it less vibrant. You can feel for doneness by gently pressing down on the surface of the cake. It should spring back when ready) When the cake is done, remove it from the oven and let cool for about 10mins, the edges should pull back from the pan. Then, carefully remove the cake and place on a parchment-lined plate or cooling rack. Wash the baking pan, dry, and repeat the process until you've used up the batters.


To prepare the Italian Buttercream:

~In a saucepan, combine the sugar, corn syrup and water. Bring to a boil over medium-high heat, stirring just enough to dissolve the sugar. Heat to between 223 and 234 degrees F, or until a small amount of syrup dripped from a spoon forms a soft thread. It should take 1 or 2 minutes. 

~When the sugar mixture has reached the thread stage, remove it from the heat and set aside. Whip the egg whites in a large bowl with an electric mixer. When the whites can hold a stiff peak, pour in the sugar syrup in a thin stream while continuing to whip at medium speed. Be careful not to pour too quickly, or it will all end up at the bottom of the bowl. When the syrup is incorporated, continue to mix for 10 more minutes to allow it to cool. The egg whites will be fluffy and glossy. 

~Add pieces of cold butter one at a time to the egg whites and continue to whip at medium or low speed. The buttercream will break down and look curdled, but keep mixing and it will come back together in about 10 minutes. When it comes back around, mix in the vanilla and/or the Irish cream or Grand Marnier. Store at room temperature for up to 2 days, or in the refrigerator for up to 1 week.  

*If you can't find or don't like using corn syrup, here's a substitute:  Boil together 1 cup of sugar and 1/4 cup water for about 5~15mins, until syrupy. 


To assemble:

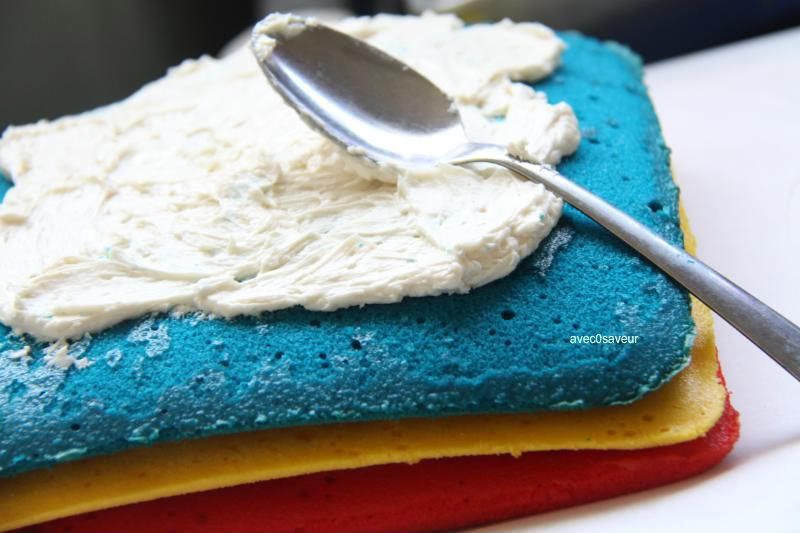
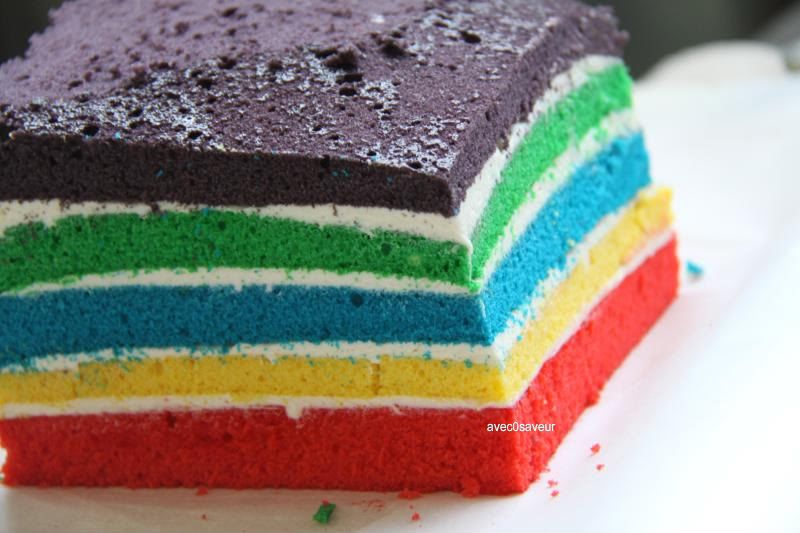
~Line the edges of a plate or cake dish with pieces of parchment paper and place a layer of cake on it then spread about 1/4 cup of buttercream on top, gently pressing down after each layer. (Note: If there is a "crown" or a bump on top of the cake layers, you can simply level it by carefully cutting it off. Then you can proceed with icing the layers and assembly) Repeat until you've used up all the layers.

~Next, trim off the edges, if you used a square pan, to create a more defined and sharper shape. You don't have to do any trimming if you used a round. Finally, spread the remaining buttercream onto the outside of the cake. You can also pipe decorations, using piping tips and a pastry bag, if desired. Chill the cake in the fridge for at least 30mins to 1hr. Slice and serve!


-phew- That was wow. I wish writing papers came this easily.

So umm.... a little help?

Anybody?
Monday, 18 October 2010

choux pastry.

Sorry for the delay in my posts! Life decided to star me in the role of some unnecessary drama. So that knocked me off track for a while. My apologies! But I'm here now. >_>;; And so allow me to introduce to you all to my lovely friend...

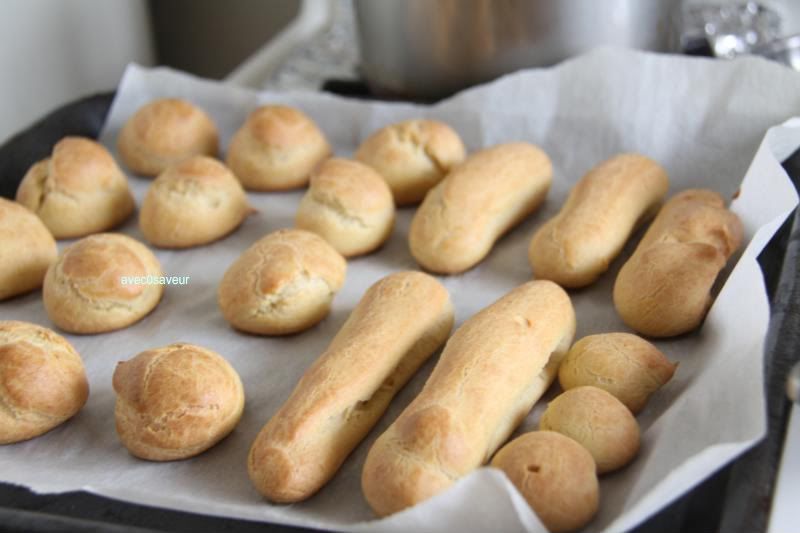
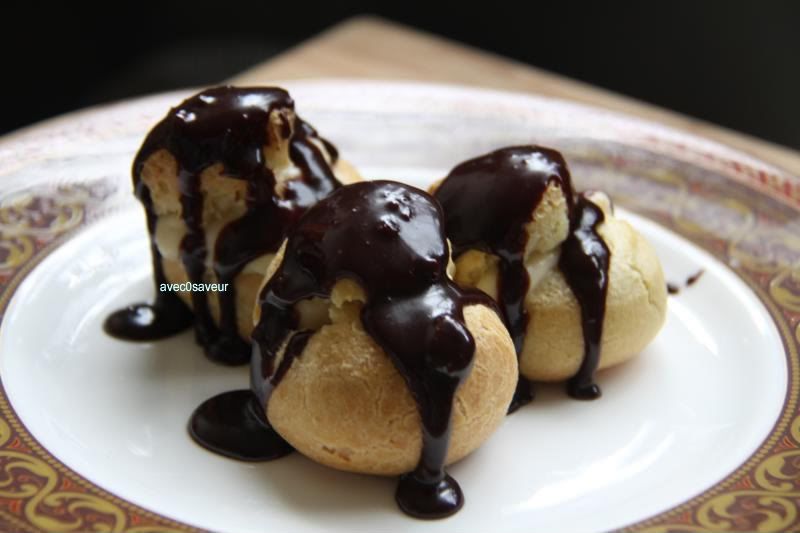
choux pastry! Which bakes up to be an assortment of tasty treats! It's a truly versatile pastry dough.


You can pipe them into an assortment of shapes and sizes~ bake 'em~


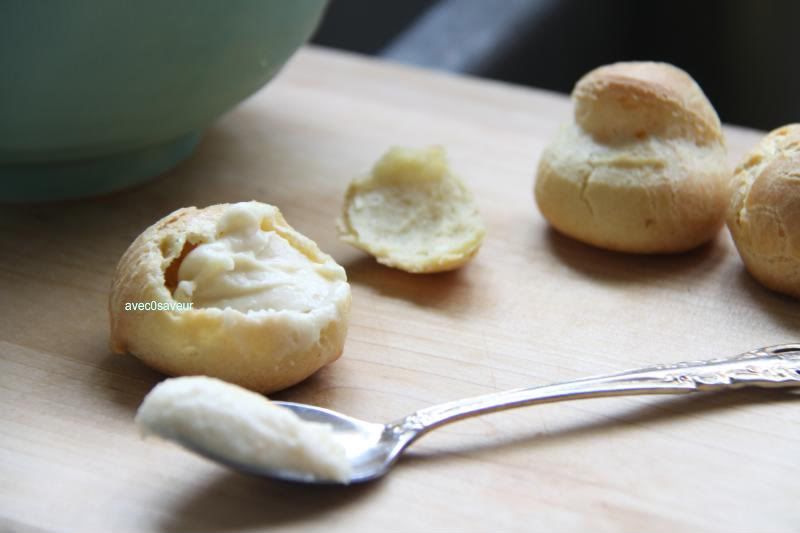
fill them up with your favorite filling~


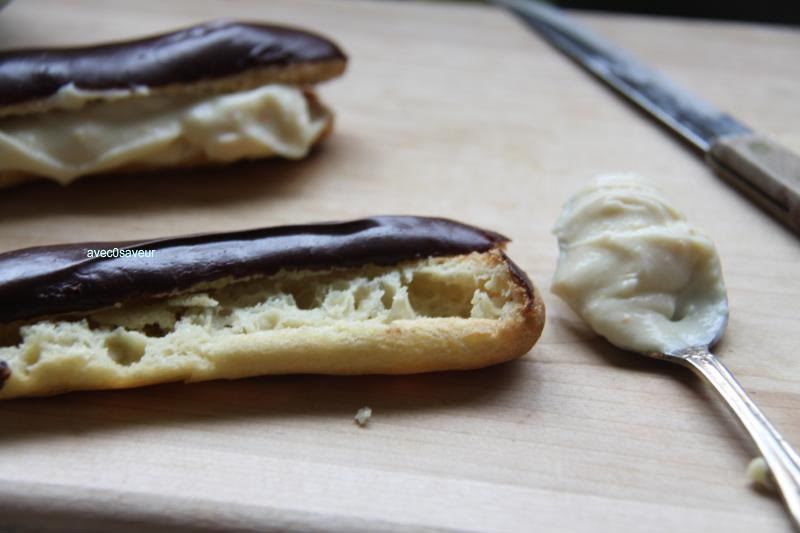
dip them into a chocolate glaze (recipe included) for some elegant eclairs!


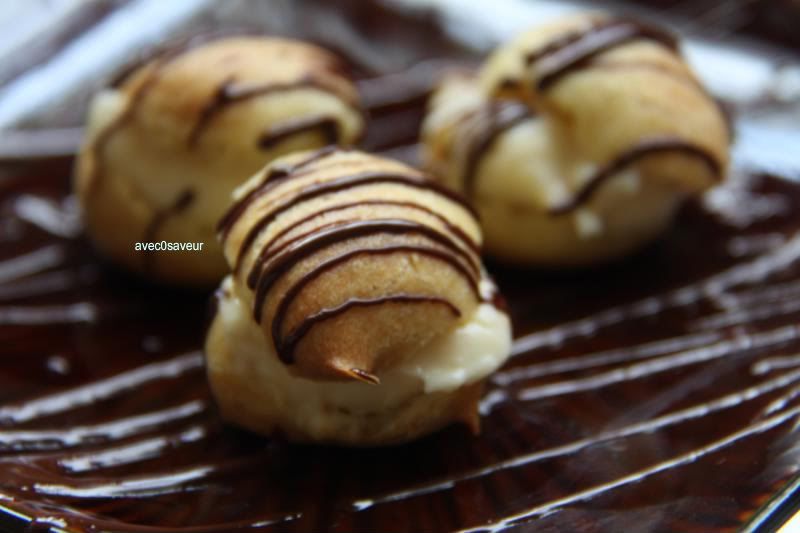
or drizzle a bit of the same glaze over for some sinfully delicious profiteroles!

They may look intimidating to make, but it's fairly simple! Impress friends and loved ones by whipping up a batch of these for tea time or dessert. ^_^

choux pastry.
 (adapted from The Food of France: a journey for food lovers)

we'll need:

1 stick + 1 1/2tbls unsalted butter
1 1/2 cup milk (or water)
2 tbls sugar
1/4 tsp salt
1 3/4 cup all-purpose flour
7 eggs

chocolate glaze*
1 recipe pastry cream filling

utensils:

measuring cups/spoons
2 saucepans (preferably non-stick)
wooden spoon
piping bag or a large freezer bag
parchment paper

>>preheat oven to 375F<<

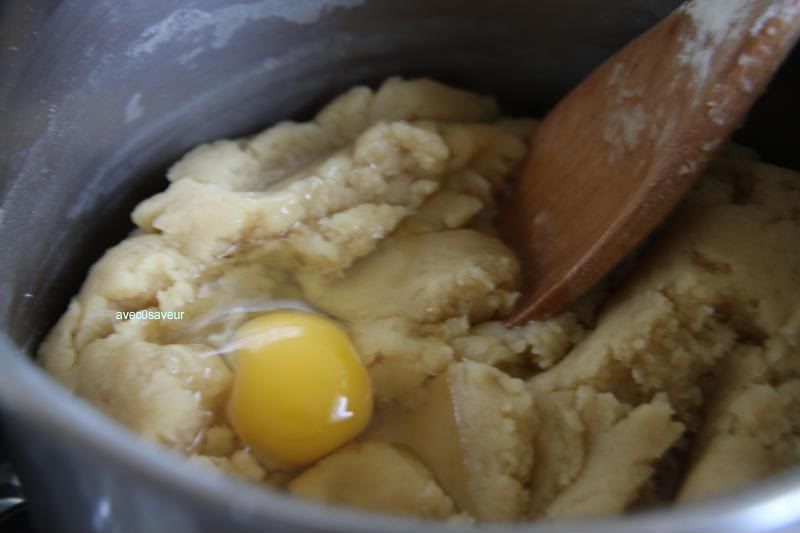
~Melt the butter with the milk (or water), sugar, and salt in one of the saucepans, then bring to a rolling boil. Remove from heat and add the flour. Return the mixture back to the heat and beat continuously with the wooden spoon to make a smooth shiny paste that comes away from the side of the pan. Let cool for 3mintues.


~Beat in the eggs one at a time, until the mixture is smooth and shiny (the mixture should drop off the spoon, but not be too runny). Place the piping bag or freezer bag into a tall glass to prop it up and fill with the mixture.** Line a baking sheet with parchment paper and pipe the choux pastry into desired shapes. (or you can spoon dollops of the pastry dough onto the parchment instead) Bake for 25~30minutes until they are puffed and carry a light golden complexion. After removing from oven, prick each of the pastry with a toothpick to allow steam to escape.

*To prepare the chocolate glaze melt together 4oz of your favorite baking chocolate and 2tbls unsalted butter in a saucepan over low heat.
**The choux pastry can be stored in the piping/freezer bag for up to 2 days in the refrigerator.


For profiteroles: split the puffs in half and spoon the pastry cream filling in between. Drizzle or spoon over with chocolate glaze if desired.

For eclairs:  Dip half the pastry in the chocolate glaze and allow to harden (15~20mins). Then split them in half lengthwise and fill with pastry cream


Enjoy!

Sunday, 10 October 2010

orange rosemary pastry cream.

I've been craving for eclairs and profiteroles for a while now~ So I've decided to satisfy that craving! Though before I can even go on to make them, I need to work on a filling. My palate was tried of the traditional vanilla or chocolate pastry cream. So...

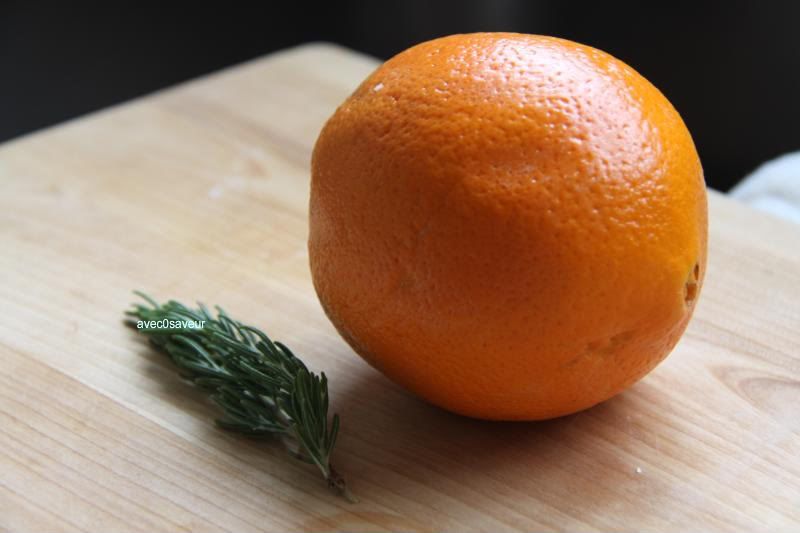
Behold~ orange rosemary pastry cream. I know, I know... it's a weird combination. But trust me on this~ it'll work out in the end. It's sort of like love and relationships, sometimes you need giant leaps of irrational faith to pull through. Though, for me... It's taking all of my sanity and patience along with faith to deal with my predicament. Guys are so troublesome and just frustrating sometimes. And... we still bother with them. The only difference is that the thing that's getting broken are eggs and not hearts. A much less painful ordeal~

Orange, meet rosemary. I'll leave you two to mingle and get to know each other. ;)

orange rosemary pastry cream


(adapted from the Tartine cookbook)

we'll need:

2 cups whole milk
1 sprig rosemary
zest of 1 large orange
1/4 tsp salt
1/2tsp vanilla extract
3~4tbls cornstarch
1/2 cup + 1tbls sugar
2 large eggs
4tbls unsalted butter

utensils:
measuring spoons/cups
heavy saucepan
whisk
2 heat-proof bowls
fine-mesh sieve
plastic wrap

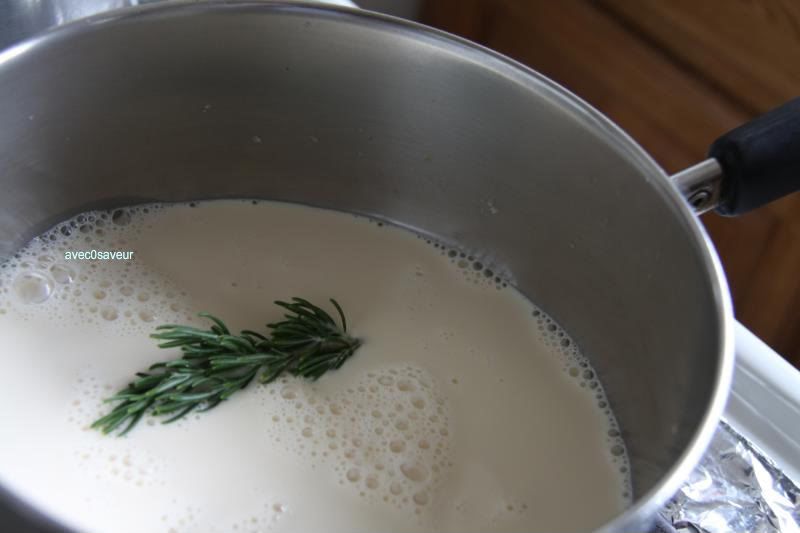
~Rest the sieve on the rim of one of the bowls and set aside. Pour the milk into the saucepan, adding the sprig of rosemary, orange zest, and salt. Place the saucepan over medium-high heat, and bring to just under a boil, stirring occasionally and making sure that the milk solids are not sticking to the bottom of the pan.

~Meanwhile, in the second mixing bowl, whisk together the cornstarch and sugar. (For a firmer pastry cream, add the 4th tablespoon of cornstarch) Add the eggs and whisk until smooth. When the milk is ready, remove the rosemary sprig, add the vanilla and remove from heat. Carefully ladle about one-third of the hot milk into the egg mixture, whisking continuously. Pour the mixture back into the hot milk and continue whisking over medium heat until the custard is as thick as lightly whipped cream (about 2mins). Let the mixture reach the boiling point to cook the starch. (Do not allow the pastry cream to boil vigorously as it will turn into a curdled mess.)


~Remove from the heat and immediately pour the mixture through the sieve, into the bowl. Let cool for 10 minutes, stirring occasionally to release the heat and prevent a skin from forming on top. Next, cut the butter into 1tbls pieces. When the pastry cream is about 140F, whisk the butter into the pastry cream 1tbls at a time, always whisking until smooth before adding the next tablespoon. Cover with plastic wrap, pressing it directly on top of the cream to prevent the formation of skin. Place in the fridge and let it firm up.


Use this cream as fillings for tarts, accompaniment to fruits, or as fillings for profiteroles/eclairs.

Note: To prepare plain pastry cream, simply omit the orange zest and rosemary, adding 1tsp of vanilla extract instead of 1/2.

Recipe for choux pastry is here~

Friday, 23 July 2010

crepes suzette.

The sun finally decided to pay The City a visit today. One of those rare occasions where it'll peek through those billowy clouds and bequeath unto the cityscape that blissfully warm sunlight. Unfortunately, the sun doesn't like to linger too long around here, always worrying that it's overstaying its welcome. By the time the afternoon came around, the sky returned to its monotonous gray as the cold slipped through once more, sending shivers down spines and jackets on children.

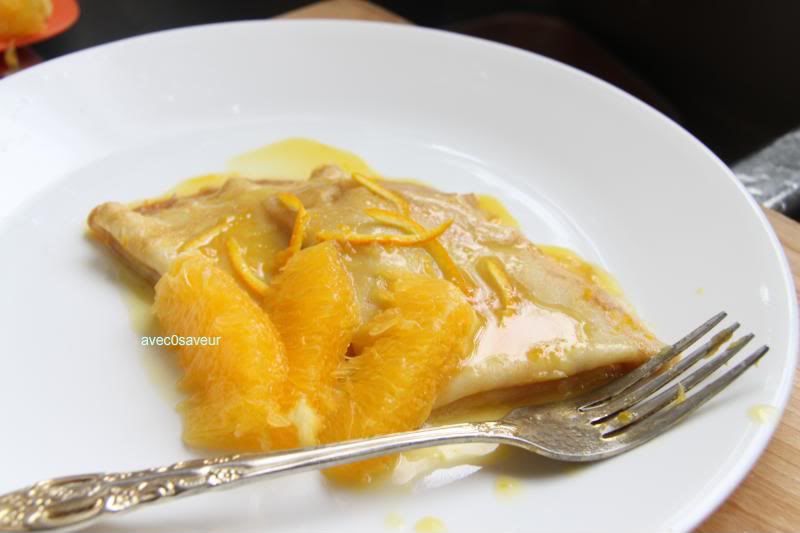
And so, in a mad attempt to retain that evanescent warmth of the sun~ I've decided to make crepes suzette. There's nothing like that taste of orange to remind me of those long summery days drenched in heat, under that endless blue sky. Along with the fact that there's a whole crate of oranges that needs to be used up. >_>;;

Crepes Suzette
(adapted from Desserts: 365 Delicious Step-by-Step Recipes by Martha Day)

1 recipe prepared French crepes (adding 1tbls orange zest and 1tbls Gran Marnier[optional])

6tbls unsalted butter
1/4 cup granulated sugar
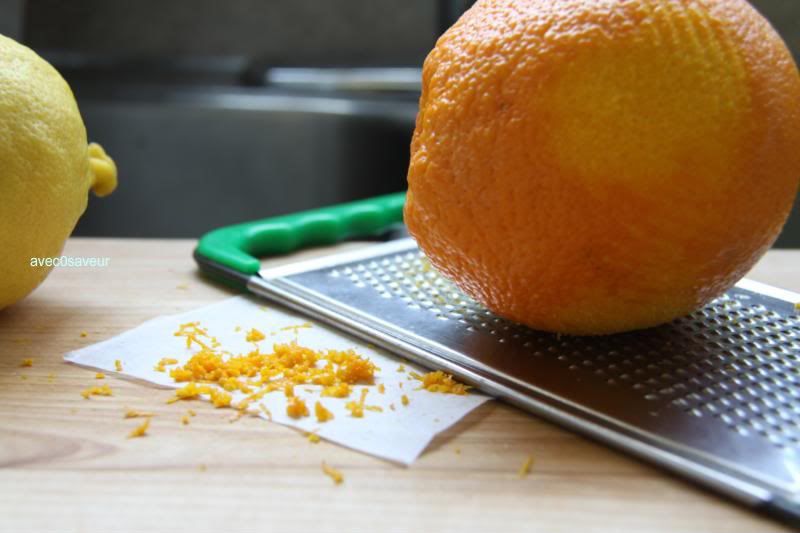
grated rind and juice of 1 large orange and lemon
2/3 cup fresh orange juice
2tbls Gran Marnier (orange liqueur||optional)
1/4 cup cognac and/or brandy  (optional)

orange segments to decorate*

Utensils:
measuring spoons/cups
fork
large frying pan
matches (preferably ones with a long handle)
pairing knife

~Melt the butter in the frying pan over medium-low heat, then stir in the sugar, the rinds and juices along with the Gran Marnier, if using. Bring the mixture to a boil until thickened (about 3-4 minutes). Place a crepe in the pan, swirling gently to coat with the sauce. With the fork, fold it in half, then in half again, forming a triangle and push to the side of the pan. Continue heating and folding the crepes until all are warm and covered with the sauce.


Optional part: Pour the cognac and/or brandy over the crepes, light a match and carefully hover the flame over the pan until the liquor is ignited. Put out the match and toss in the sink (not in the trash bin!!). Allow the flames to burn off. Serve immediately.


*To "supreme" or cut the orange into segments. With a pairing knife, cut off the ends and prop it flat-side down, cutting away the remaining skin on the sides. Then carefully cut the flesh out from between the white membranes and you have just "supremed" an orange. =)

Thursday, 20 May 2010

french crepes.

It's nearly summer already~ but it doesn't really feel like it. The weather's been quite erratic lately. One day it'd be warm and sunny and by the next it would be freezing with the dreary sky firing a barrage of hail and rain upon the City.

Take today for instance, there was not a cloud in the sky this morning when I stepped onto campus, but as soon as I walked out of the Humanities after my Japanese final... I was greeted with heavy droplets of icy cold. Unfortunately I didn't bring an umbrella. Being the crazy me and seeing a clear blue sky in the morning, I decided that I didn't need one. -__-; Oddly, I welcome and love weather like this. The lack of continuity adds a bit of spice to the dull routine of life. I don't think my hair and clothes are too happy about it though.

But...

I'd still like to be able trade in my boots and woolen coats for a nice summer dress and sandals, lounging under the cool shade of a tree, staving off the dull summer heat with a cold glass of limeade.

Oh summer. Do hurry~ you're fast slipping away from my memory.

But a nice stroll through the farmer's market is more than enough to remind me of those seemingly endless beautiful days basking in sunlight (a much less depressing and stressful reminder than final exams). With the bountiful rains bring a plethora of fresh fruits and veggies and...


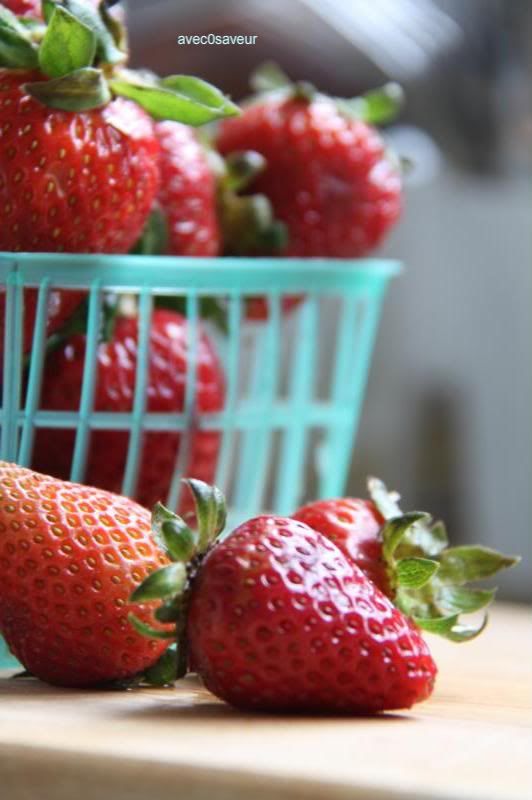
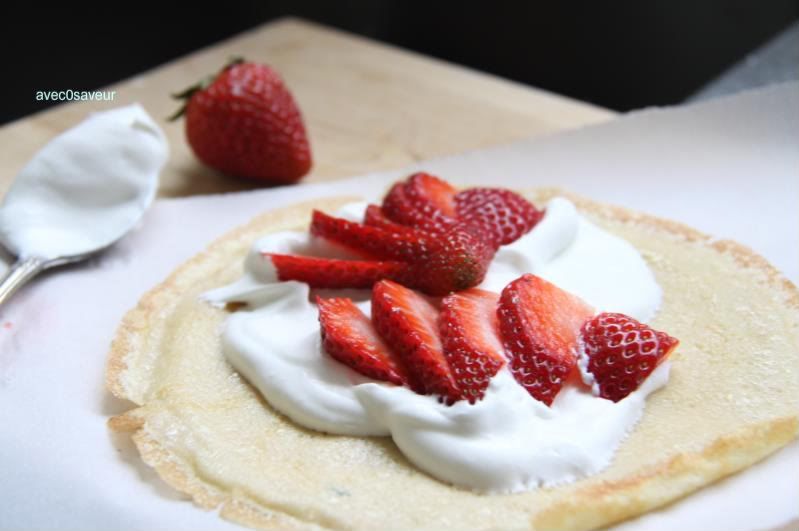
  Strawberries! A perfect piece of tart and sweetness, bursting with juice. Lovely just by themselves... but even better with whipped cream and crepes!


Yep. Simple, yet oh so decadent! Life is good. All I need right now is a nice cup of strong tea and I'm set.


French Crepes (adapted from about.com)

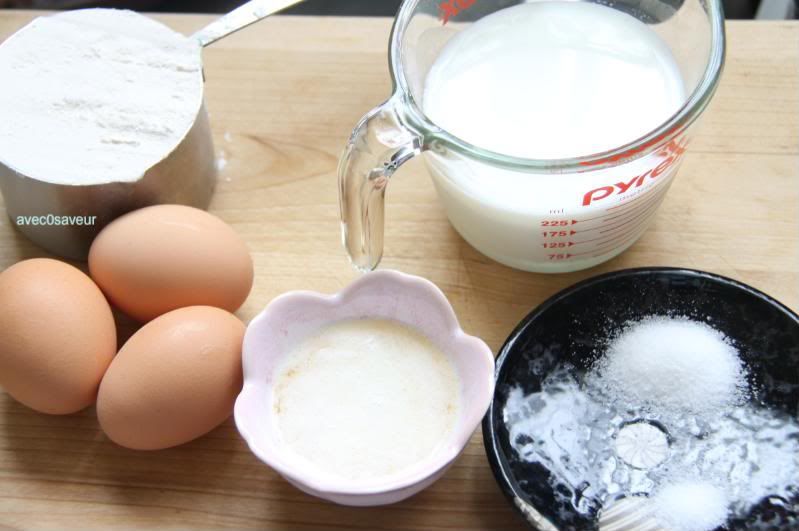
We'll need:


1 cup all-purpose flour
2tbls granulated sugar
1/4tsp salt
3 eggs
2 cups milk
2tbls melted unsalted butter (plus 2-3tbls more for oiling the pan)
1tsp vanilla (optional)


sliced strawberries
whipped cream... any filling of your choice.

Utensils:
2 mixing bowls
measuring cups/spoons
sieve
whisk
ladle
non-stick or a well-seasoned cast-iron pan
pastry brush
flipping spatula
plate

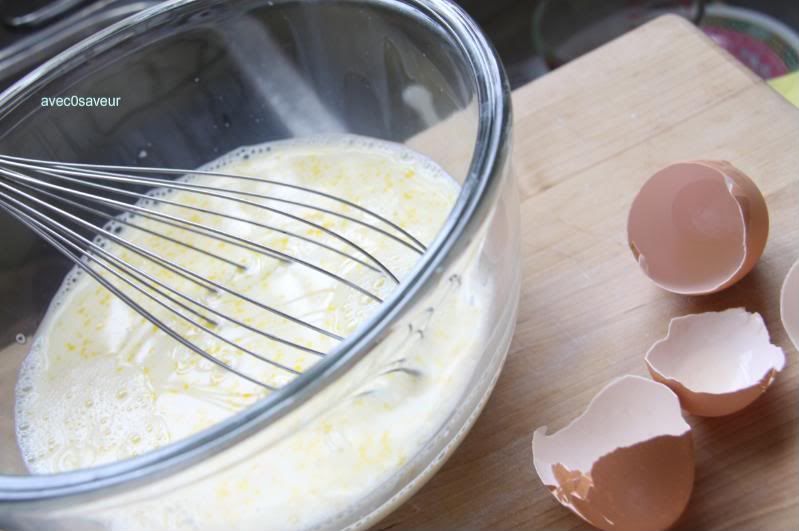
~Sift together the flour, salt, and sugar into one of the mixing bowls. Set aside. In the other bowl, beat the eggs and milk together.


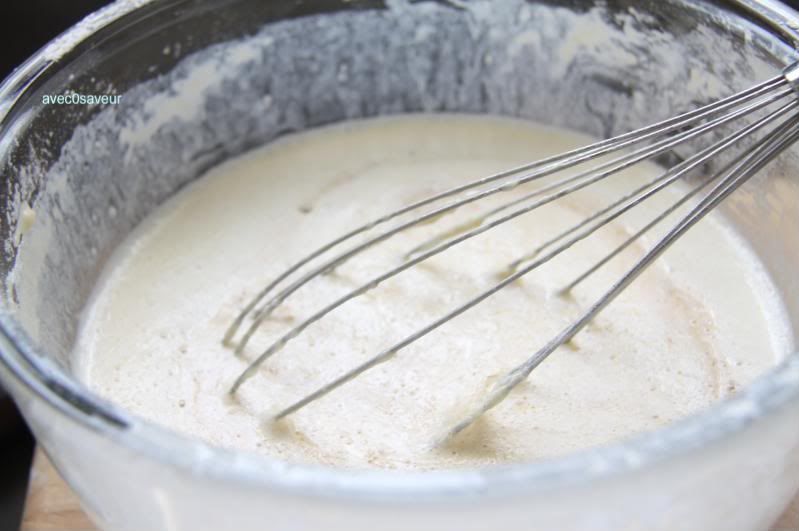
~Carefully sift in the flour mixture and whisk until the batter is free of lumps. (If there are still lumps after whisking, you can pour the mixture through a sieve to get rid of them). Once combined, whisk in the melted butter and vanilla. The consistency should be similar to that of melted ice cream. If it's a bit too thick, just add in a tablespoon or two of milk. Cover the mixture and place in the fridge for at least 1 hour. (Give the batter a good stir after removing it from the fridge, as the flour may settle to the bottom)


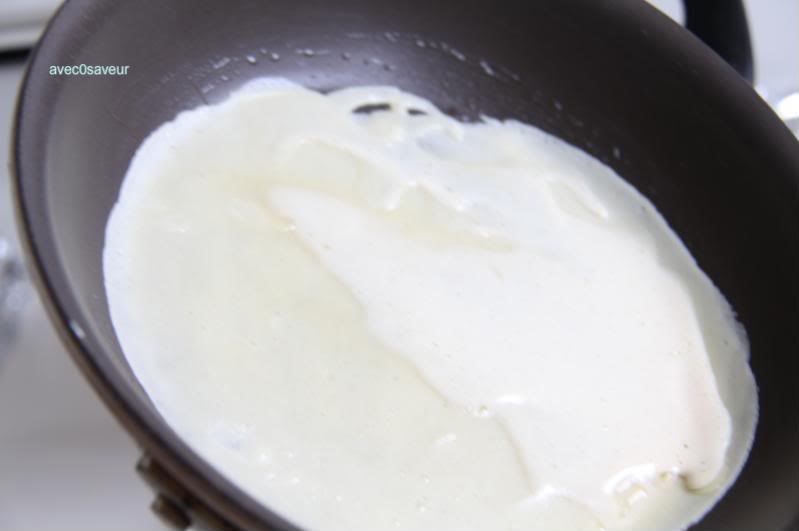
~Heat the pan on medium heat, brush lightly with the melted butter. Ladle about 1/4 cup of batter into the pan, swirling it until the entire surface is covered. If there are holes, just ladle a bit of batter to cover them. If there is too much batter, you can pour it back into the bowl.


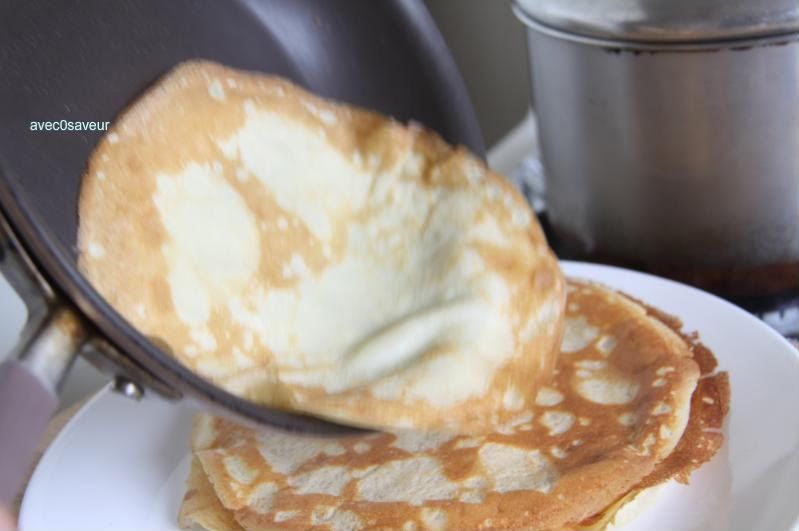
~When the edge of the crepe turns golden, carefully slide the spatula under and flip it, cooking for another 5-7 seconds. Slide the finished crepe on a plate and continue with the next one, brushing the pan with butter as necessary.


~Once you've a plateful of crepes, the possibilities of what you can do with them are boundless~ serve with a smear of Nutella, whipped cream, honey, melted chocolate, fruits, peanut butter or with savory fillings such as caramelized onions and bacon. It's all up to you... or your stomach. =]

Here are a few ideas:


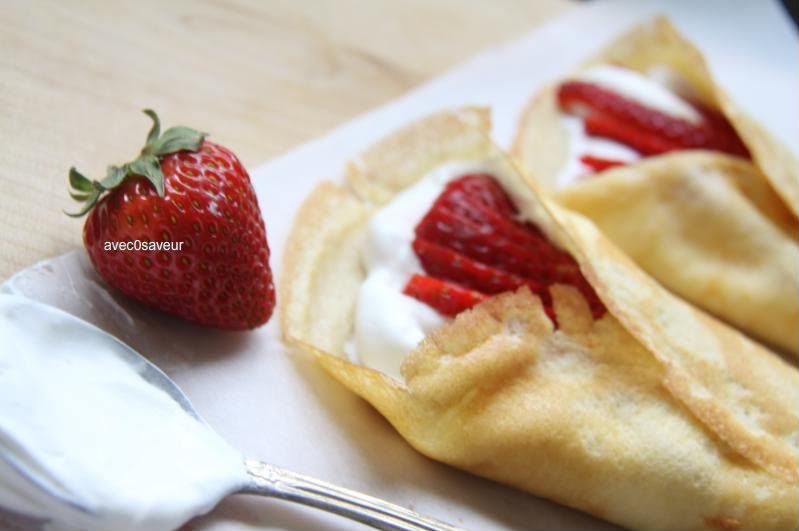
~Put a few dollops of sweetened whipped cream on a crepe along with a few slices of strawberries (or any other type of fruit) and roll it up~


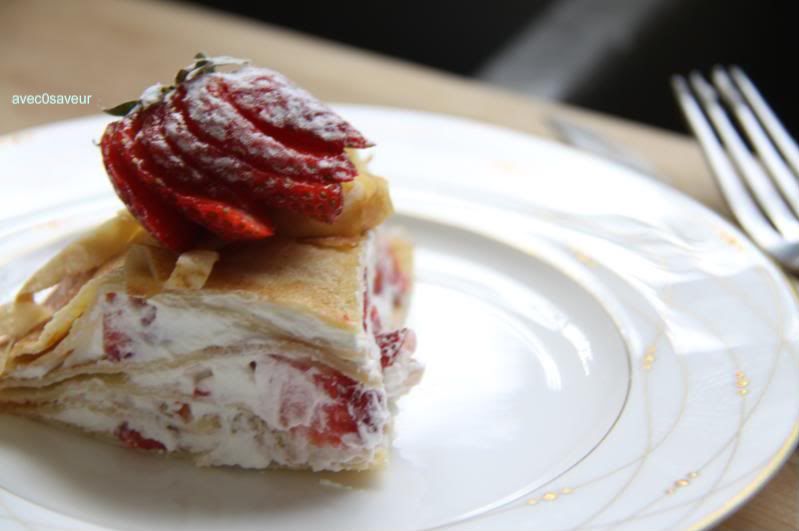
Or if you're having company and want to add a touch of elegance, here's how to make "crepe cake."


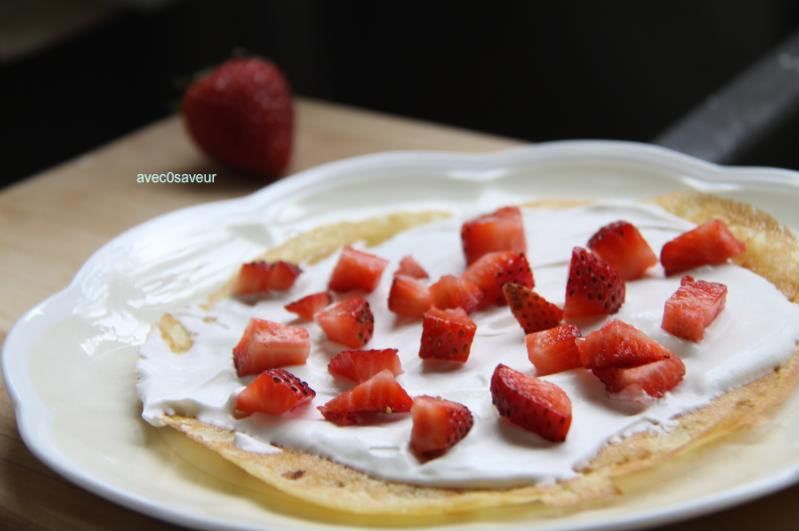
~Simply apply a thin layer of sweetened whipped cream onto a crepe and fill with a fruit(s) of your choice or anything you please. The sky's the limit!
 Instead of cream, you can also use a custard, mousse, or lemon curd.

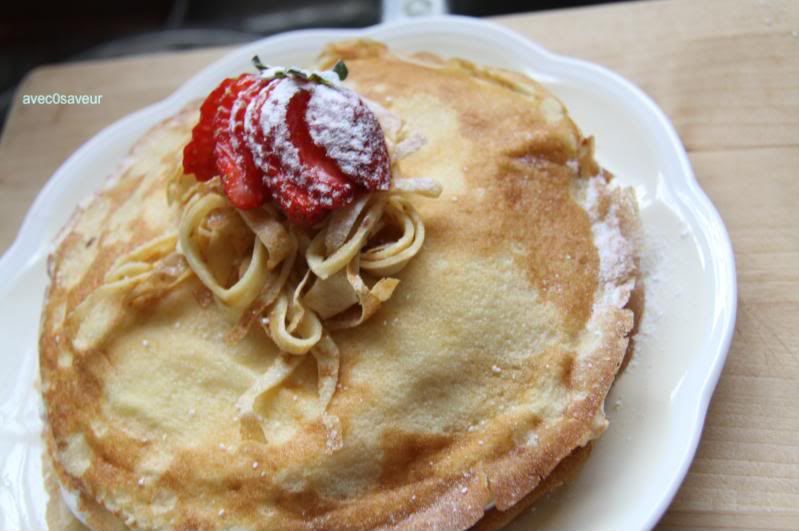
~Then place another crepe on top of the previous and repeat until you're satisfied with the amount of layers. Dust the top liberally with powdered sugar, and garnish as desired.

*You can roll up a crepe, thinly slice it, and nest it on top of the "cake" for a nice touch.

Sunday, 16 May 2010

mocha pots de creme.

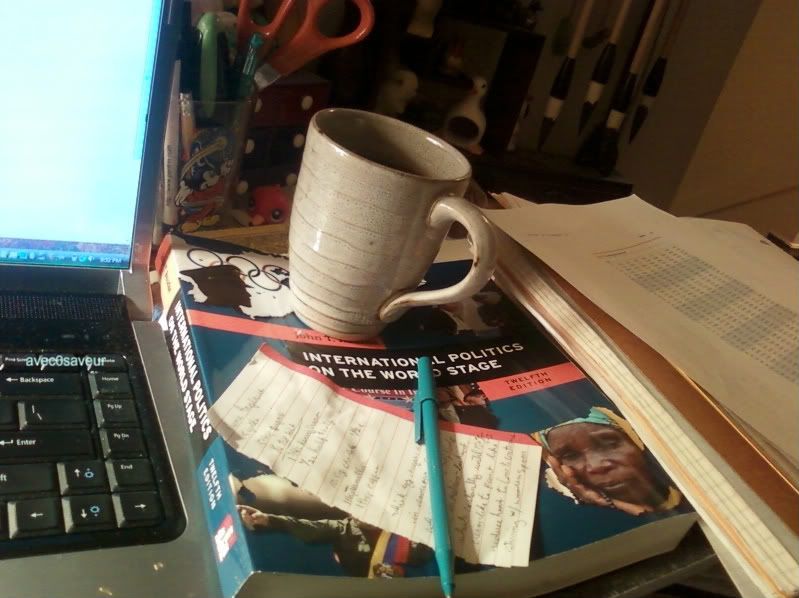
It's here. The week I've been dreading since the beginning of the semester. Finals! Hell Week. I am trying veery hard to keep myself from falling into a state of insanity. Though... my table is saying otherwise.


Hmm... I suppose this could be a physical manifestation of my current mindset. >___>;; But I can find ways to compensate... and cope.

This is just one of my coping methods.


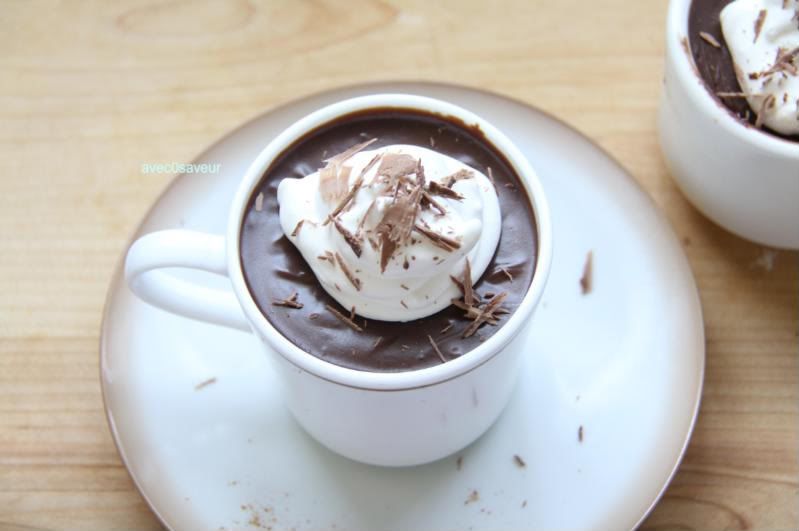
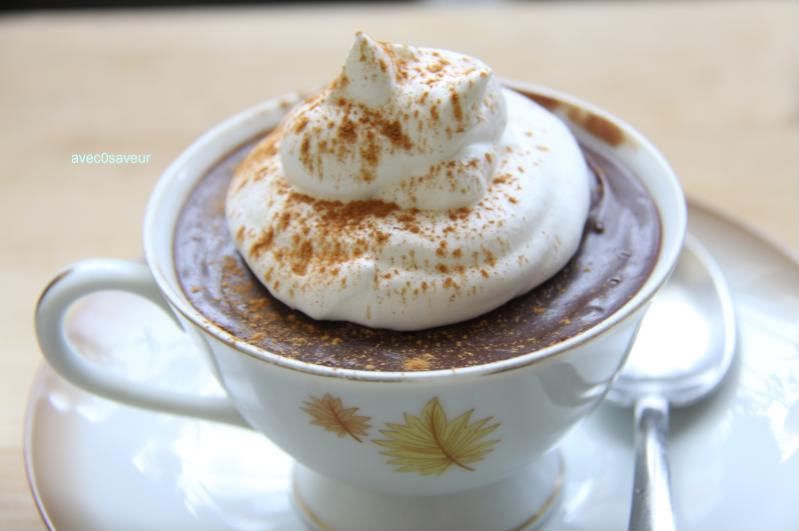
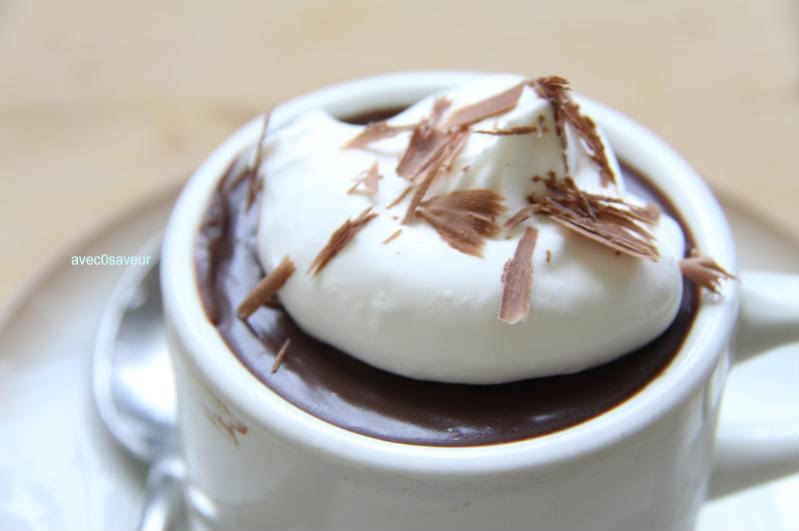
Mocha pots de creme. The rich taste of chocolate made even better by the addition of coffee powder in the form of a smooth and silky mousse-like piece of heaven. It really does wonders. Though I wish it would make hell week disappear. -____-; 

Anyways, this pot de creme strays a bit from the traditional one since I didn't cook it in a water bath, making it less complex and finicky to make. It is comprised of two basic components creme anglaise (English custard) and a whole lot of chocolate, which acts as the setting agent for the creme.

Mocha Pots de Creme (adapted from America's Test Kitchen)

We'll need:


10.5oz semi-sweet chocolate chips

-for the creme anglaise-
5 egg yolks
5 tbls granulated sugar
1/4 tsp salt
1 3/4 cup heavy cream
1/2 cup half and half

2tsp vanilla
1tbls instant coffee

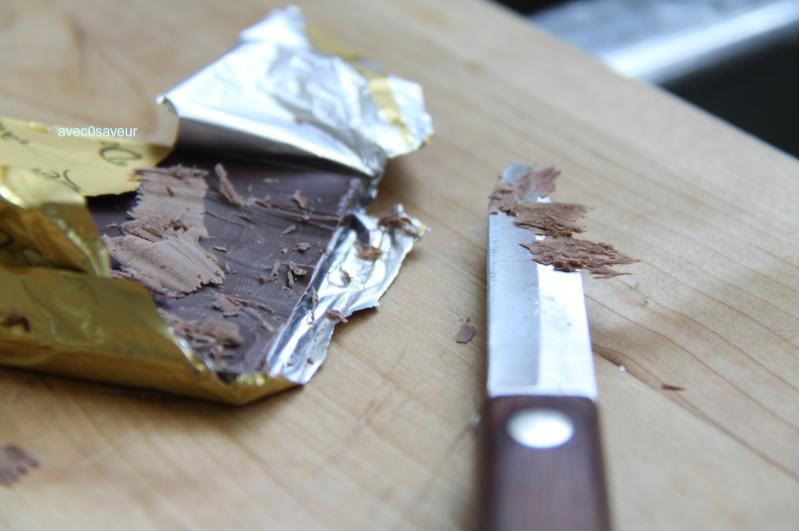
a bar of chocolate for making shavings to garnish*
whipped cream (preferably unsweetened)

-utensils-
whisk
5-6 1/2cup ramekins or tea cups
heavy pot
spatula
heat proof mixing bowl
candy thermometer
sieve
measuring cups/spoons
flat-edge knife

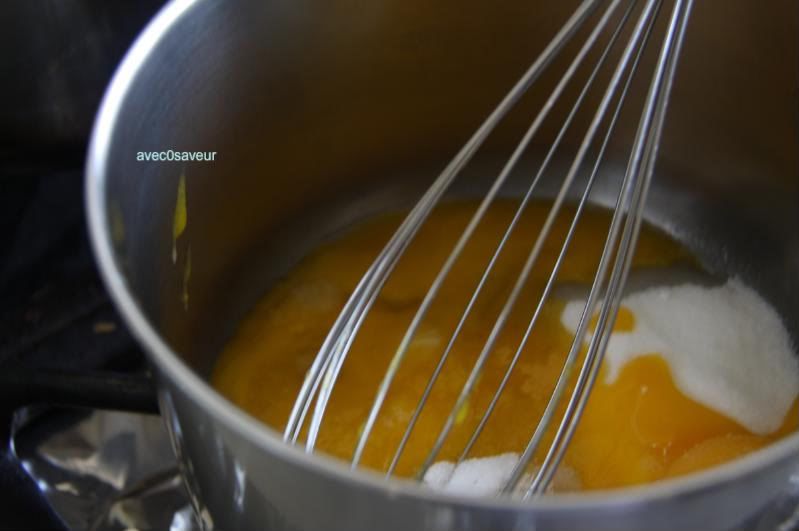
~Place the chocolate chips in the bowl and set aside. (So difficult not to munch on them while preparing the creme anglaise. -_-;) In the pot, whisk together the eggs, sugar, and salt until they are combined.


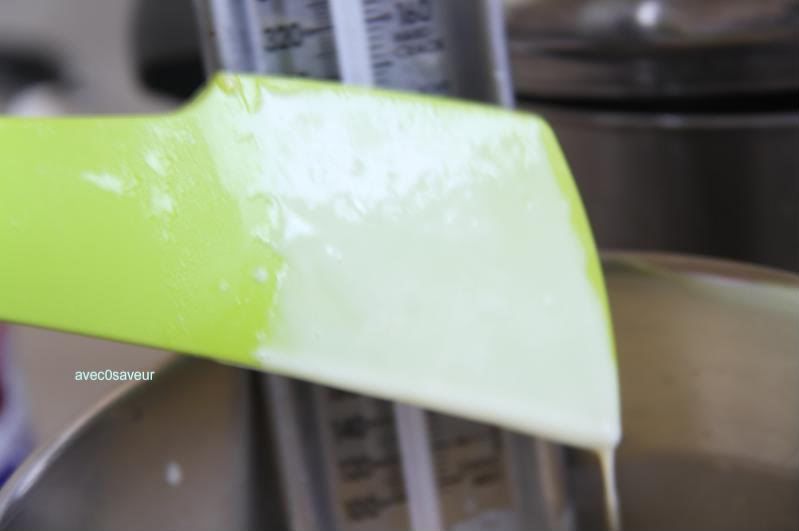
~Slowly incorporate the cream and half-and-half into the egg mixture. Place over med-low heat, whisking constantly until it reaches 150F (about 5-6mins). Reduce the head to low and continue stirring with a wooden spoon or spatula until the mixture reaches 175F (about 3-4mins), when the mixture has visibly thickened and coats the spoon/spatula when lifted.


~Remove from heat and pour through a fine sieve directly over the chocolate. Stir three times (but no more than that) and let sit for about 5 minutes. Then stir until the chocolate and creme is evenly combined.

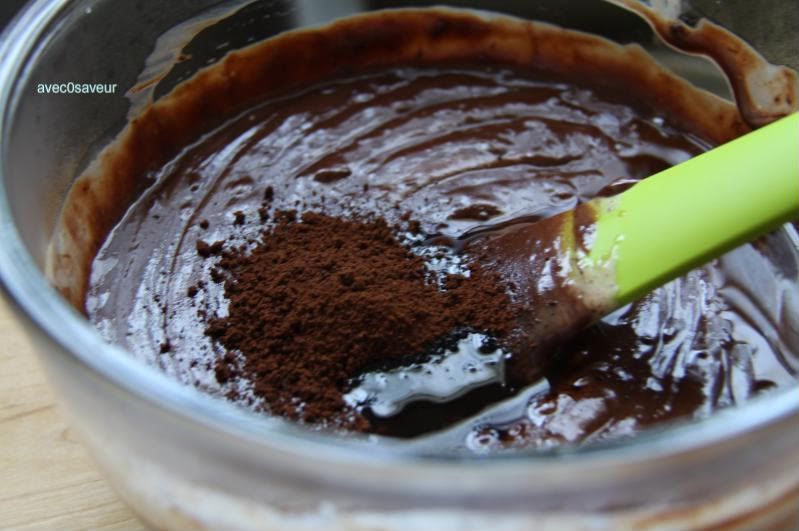
~Stir in the vanilla and instant coffee.


~Spoon into the ramekins or tea cups. Place them in a dish and cover with plastic wrap (or alternately, cover each cup with wrap) and refrigerate for at least 3hrs or up to 3 days.

~To serve, you can spoon whipped cream on top and sprinkle with chocolate shavings*, ground cinnamon, cocoa powder... anything you'd like!


*To make the chocolate shavings, simply scrape the blade of a knife on a bar of chocolate. (But do be careful!)


Ookay, I really should be studying for prob&stat right now... -_____-;; So I'll leave you guys here.

Sunday, 9 May 2010

madeleine tea cakes.

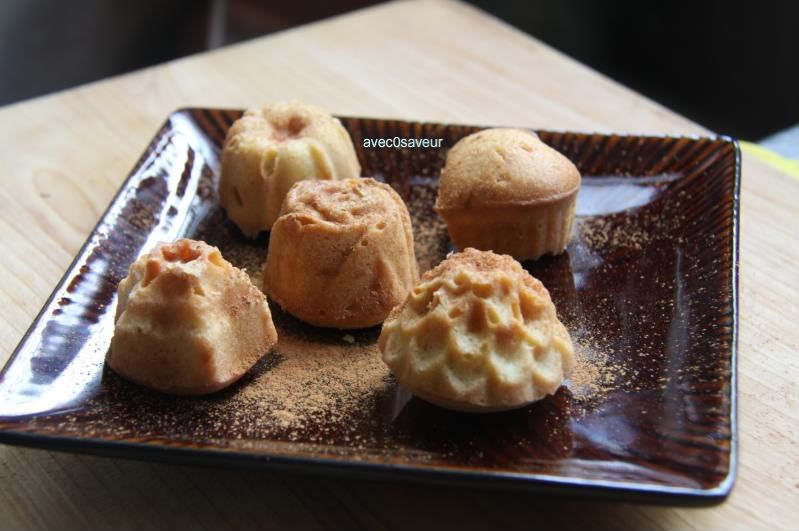
It's mother's day~ though I really think we should be treating each day as such. Anyway, I decided to make madeleines for mom, though I didn't have a madeleine mold, so I just used a tea cake one a lovely friend gave me. If you're fortunate enough to have one of those molds, you can use that instead. I'll provide a recipe for actual teacakes in an up coming post.

Anyway, I bring you...


Madeleine [tea cakes] (adapted from The Food of France by Maria Villegas and Sarah Randell)


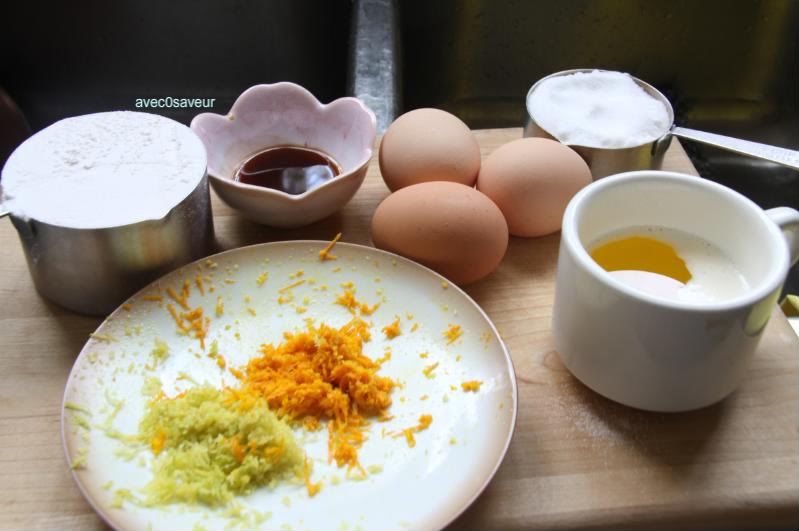
We'll need:
1 1/4 cup all-purpose flour (plus a bit of extra for dusting the pan)
8tbls unsalted butter (melted)
3 eggs
1/2 cup sugar
1tsp pure vanilla extract
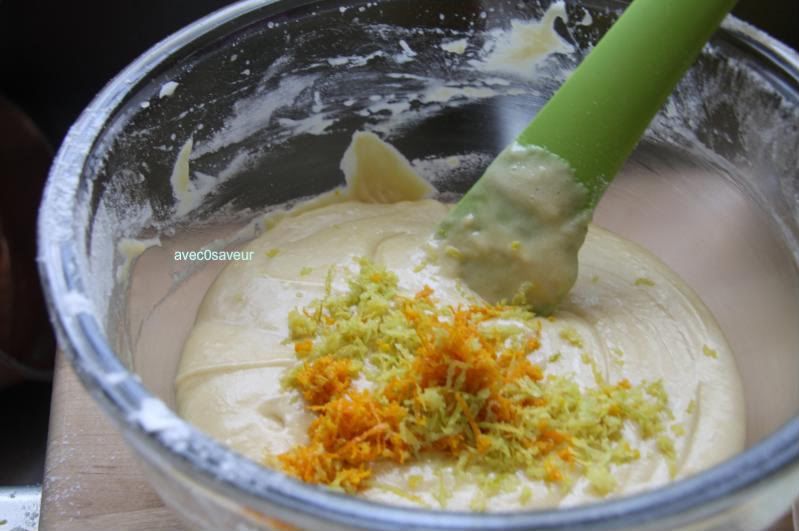
zest of one large lemon and orange


Utensils:
mixing bowl
measuring spoons/cups
sieve
spatula
whisk (or an electric mixer)
tea cake or madeleine mold
pastry brush

>>preheat oven to 400F<<

~Brush the mold with 1tbls butter and coat evenly with flour, tapping out the excess. Set aside. In the mixing bowl, whisk together the eggs and sugar until the mixture is a pale yellow and the whisk leaves a trail when lifted. (I really suggest using an electric mixer because it's quite a workout if you do it by hand) Then, gently fold the flour into the egg mixture, followed by the remaining 7tbls of melted butter, vanilla extract, and zests.


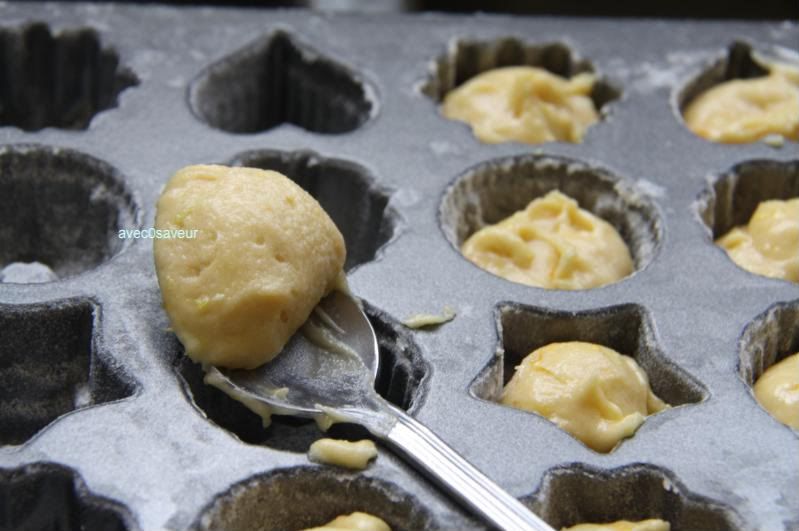
~Fill the greased and floured mold with the batter, with a bit of room left for rising.


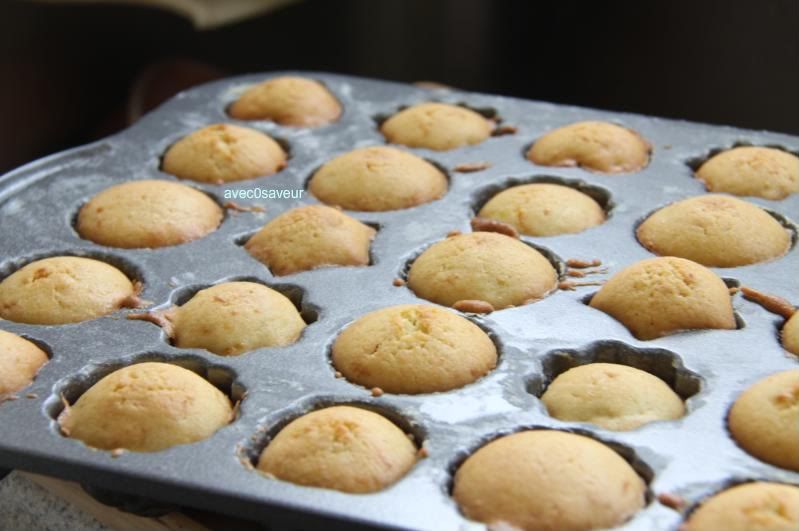
~Place in the oven and bake for about 15~20 minutes, until the edges are a light golden brown. Let cool for 5mins and remove the cookies from the mold.


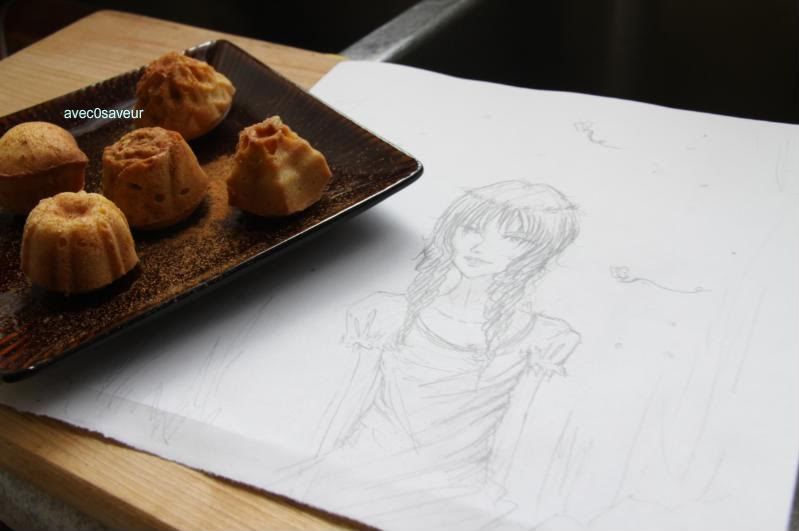
~Serve with a light dusting of cinnamon or powdered sugar on top along with a steaming cup of tea or coffee, if you'd like.

Or you can give them to mom... 'cause she deserves it. :)


In addition to the cakes, I also drew her something. ~___~;; Though crappy as it is.

We'll here's to you mom. Thanks for everything... even if I don't show it, I am really grateful for all that you've done for me and especially bearing with me, though I can't really say that in front of you. . ___. I really wish this family's more open to self-expression and displays of affection. Ah well. Wouldn't trade you guys for the world.